DJI drones has claimed a market share of half or more rescently. Some models of drones such as DJI Phantom 4 Pro, DJI Inspire, can shoots DCI 4K (4096 X 2160) video and UHD 4K (3480 X 2160) video compressed with MPEG-4 AVC/H.264 codec in MOV wrapper, however finding a proper media player to play is a head-scratching task and turn into an agony when you lack a super computer. Here you will find the way to solve this problem, read on.
When we search on Google, we found that "DJI 4K vdieo don't play on VLC" would be a common problem. Even quite powerful i7 SSD PC don't play DJI Inspire / Phantom 4K 100Mbps bitrate video properly. A practicable way is to slow speed to 0.67, Media Player Classic (k-lite codecs) runs and play those 4k footage smoothly. However, for VLC fans, they give up this way.
Why VLC Can't Play DJI 4K Footage?
3 Method to Play DJI 4K Footage on VLC Smoothly
Method 1: Update VLC to 2.2.6 version
Method 2: Enable Hardware Acceleration in VLC to Play DJI 4K Video
Method 3: Downscale DJI 4K Video to 1080p for VLC Smooth Playback
Why VLC Can't Play DJI 4K Footage?
In fact, the 4K video playback including DJI 4K recordings with VLC has strict requirements on the computer's processor and graphics chip. Sometimes, even if your computer meets the requirements, you may find that DJI 4K video plays back choppy. This is due to the immense processing power required to play 4K. You can try the below 3 methods to handle the problems.
3 Method to Play DJI 4K Footage on VLC Smoothly
Method 1: Update VLC to 2.2.6 Version
With preparation for Ultra-HD video and a special care to support more formats, 2.2 is a major upgrade for VLC. Download it here and re-open your DJI Phantom 4 4K videos in VLC Player for 4K video playback.
Note: Although version 2.2.6 of VLC offers 4K playback support, it still does not support 4K video from DJI Phantom 4 playback perfectly: there is stutters, not showing audio, etc issues.
Method 2: Enable Hardware Acceleration in VLC to Play DJI 4K Video
If you ungrade VLC verison but still fail to play DJI 4k on VLC, you can try the second method. You can fix this issue by enabling the GPU accelerated decoding feature in VLC, this feature in theory uses the processing power of the graphic card to lighten the load on the processor of the system.
However, according to VLC's GPU decoding page, this feature is only available for H.264 streams. In addition, as the data is decoded in the GPU at the decoding stage and then transferred back to the player so that the other stages, filtering and streaming for instance, can be processed, this process can under under circumstances be slower than without GPU acceleration enabled. What's more, the VLC GPU decoding is only available for select operating systems. While Windows Vista and newer versions of the Microsoft operating system are supported, Windows XP is not at this point in time. The majority of graphic cards should support hardware acceleration just fine. Make sure you have installed the latest drivers though.
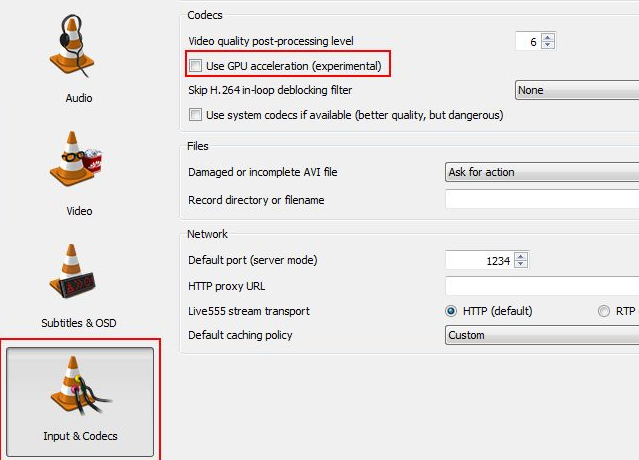
How to enable hardware acceleration in VLC?
Open VLC Media Player and click on Tools > Preferences or press Ctrl-P to open the settings window of the program. If you are using the simple settings interface, click on Input & Codecs on the left sidebar and check the Use GPU accelerated decoding box there.
If you are using the "all" interface select Input/Codecs > Video Codecs > FFmpeg > Hardware decoding instead to enable acceleration this way.
Click on the save button afterwards and restart the media player to work with the new setting. Try playing several video files to see if hardware acceleration makes a difference in terms of playback. If it does, keep the setting enabled. If it does not, just go back to the settings to uncheck the option again.
Method 3: Downscale DJI 4K Video to 1080p for VLC Smooth Playback
It will be GPU consuming and very jerky if you play DJI 4k footage on VLC media player, and if you don't possess a powerful computer, that will be worse. So how about compressing your DJI 4k to 1080p that will be compatible with most devices, like smartphone, tablets, labtops, or game console. By the way, this way has lower requirements on the computer's processor and graphics chip than 4K video.
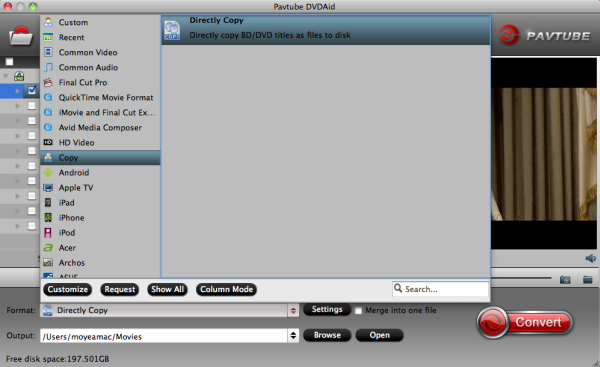
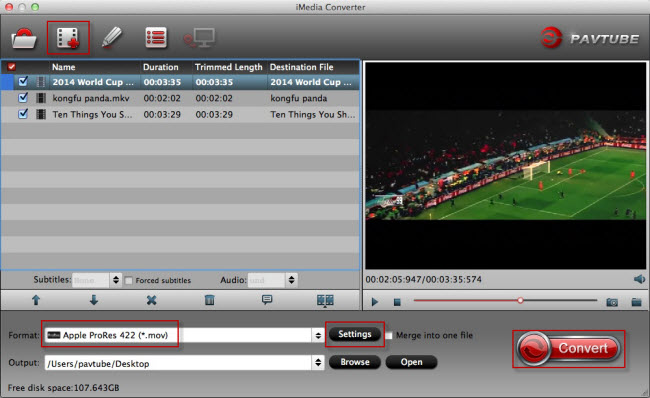
To downscale DJI 4k to 1080p, what you need is to get a professional 4k to 1080p compressor. Pavtube Video Converter Ultimate/ For Mac stands out from it calss just like it name. It can convert DJI Phantom 4 Pro 4K video, DJI Mavic 4K video, DJI Phantom 4K video, DJI Phantom Professional 4K video, DJI Inspire 2/1 4K video to 4K H.264 MP4 or compress DJI 4K video to 1080p for VLC.
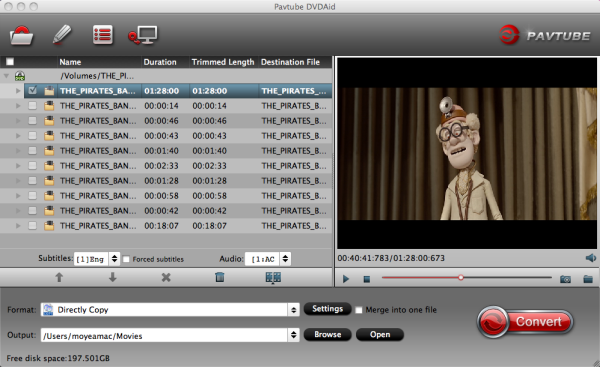
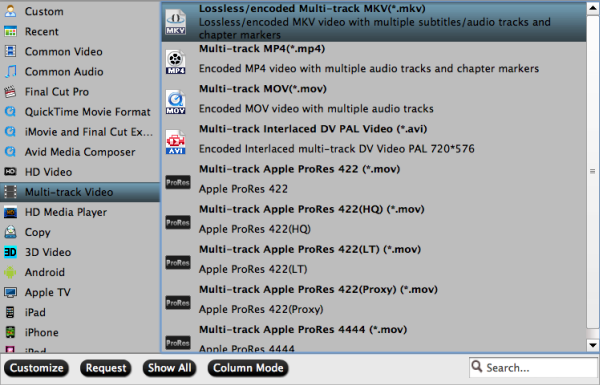
Moreover, based on testing and VLC playback feedback, we found 1080p MKV, AVI, MOV, MP4 are more compatible with VLC and can be played by VLC more simply. All those container, you can find by click "Settings" button.
To get a better virtual experience, you can edit video with this smart assistant. You can flexible to adjust vdieo parameters, including video and audio bitrate, frame rate, resolution, channel and more. With it, you can merge separate video clips into one, insert external subtitles to video, add transparent text watermark/image watermark to video, crop black bars around the video frame, adjust video color brightness, remove audio from a video or replace audio in video, trim video footage, crop unwanted area from video, etc. More funtions here.
Step By Step to Convert DJI 4K Video to VLC
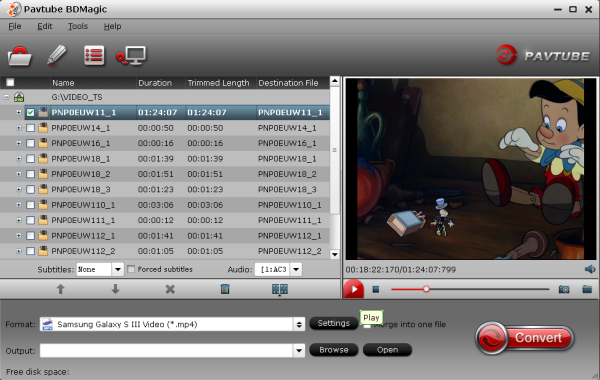
Step 1: Add 4K videos
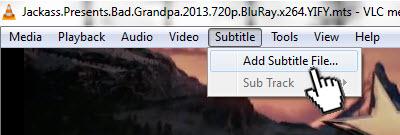
Open the 4K video converter program, click “File” menu, from its drop-down option, select “Add Video/Audio” to load DJI 4K video to the program. If you have Blu-ray and DVD that want to playback on VLC, you also can load them to rip to VLC.
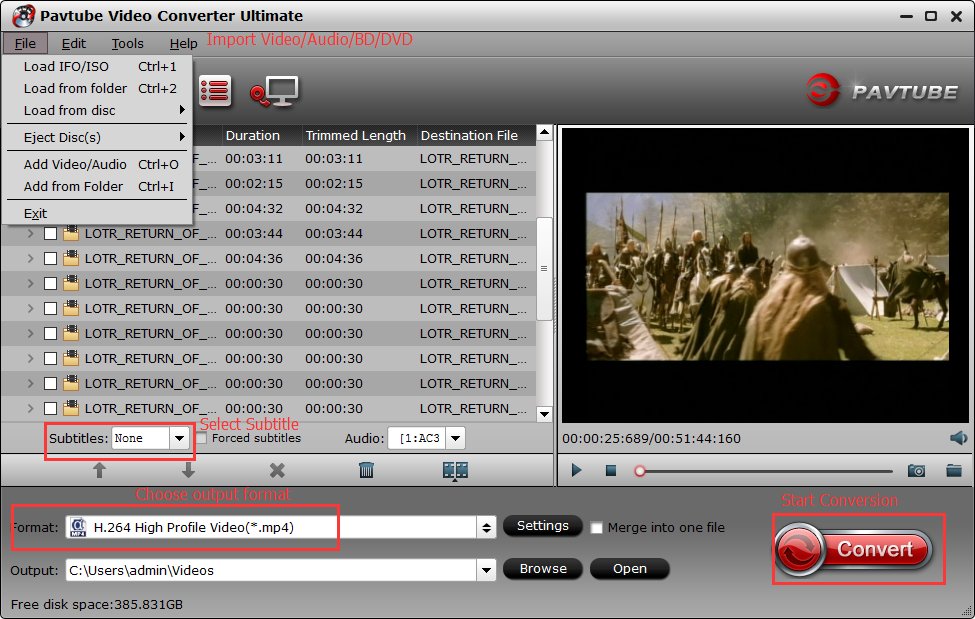
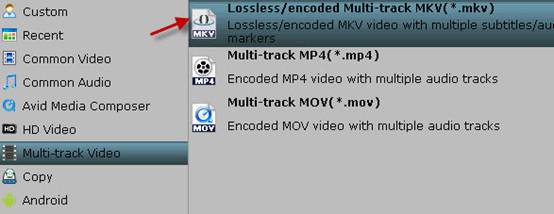
Step 2: Choose output file format
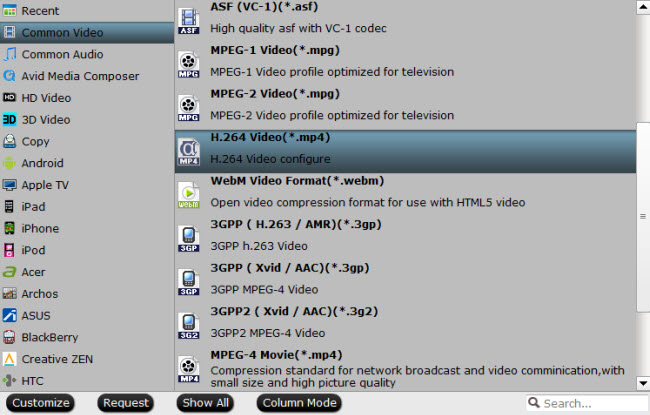
From “Format” bar drop-down list, choose the formats that you want to output for later use. For compatibility consideration, it is idea for you to choose “HD Video” > “H.264 HD Video (*.mp4)” as output file format.

Open “Profile Settings” window, click “Size(pix)” to select 1920*1080 as the final resolution for output video. In this way, the DJI 4K video can be downscaled to 1080p then you can play it with VLC smoothly.

Step 3: Convert DJI 4K video to VLC
After all the settings is completed, hit right-bottom “Convert” button to start to convert and downscale DJI 4K video to 1080p format videos. When the conversion is finished, click “Open Output Folder” icon on the main interface to open the folder with generated HD DJI video files.
Now, try to play DJI video files with VLC on your computer. It should be smooth now.
Related Articles
- Upload DJI Spark videos to Youtube, Vimeo, Instagram
- How to Smoothly Upload DJI Phantom 4 Pro+ 4K to YouTube with Best Quality?
- 5 Best Free Mac DJI Video Editing Software For DJI Phantom/Inspire
- Best Editing Workflow of DJI Osmo 4K Video with iMovie/FCE on Mac
- Losslessly Downscale DJI Inspire 1 4K Video to 1080p for Smooth Playing and Editing
Any Product-related questions?support@pavtube.com