More and more people are attracted to DJI drones which make our flying dreams to come ture. DJI has unveiled the Spark drone for a few month, the smallest model the popular Chinese dronemaker has released to date. DJI claims that Spark's camera can shoot 12 megapixel photos and record 1080p high-def videos at 30fps and 24Mbps. Although the footage from DJI Spark has lower resolution and bitrate/ frame rate than other DJI drones, which support 4K capture and higher video parameters, playing and editing HD, Full HD videos from Spark is still a difficult task. Why? Keep reading!
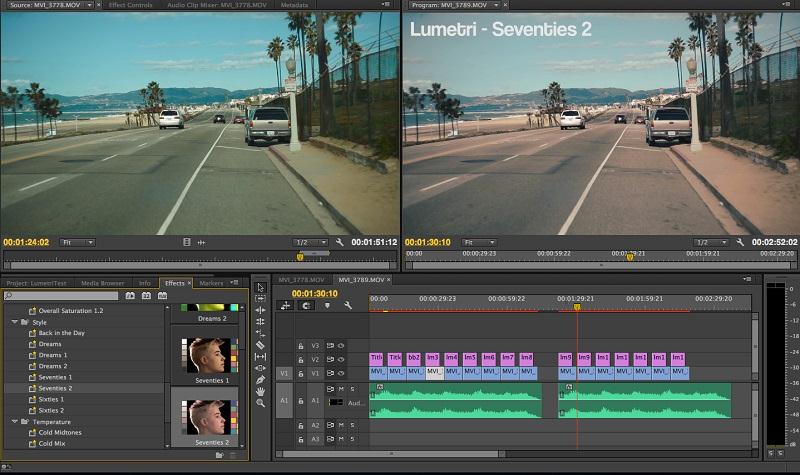
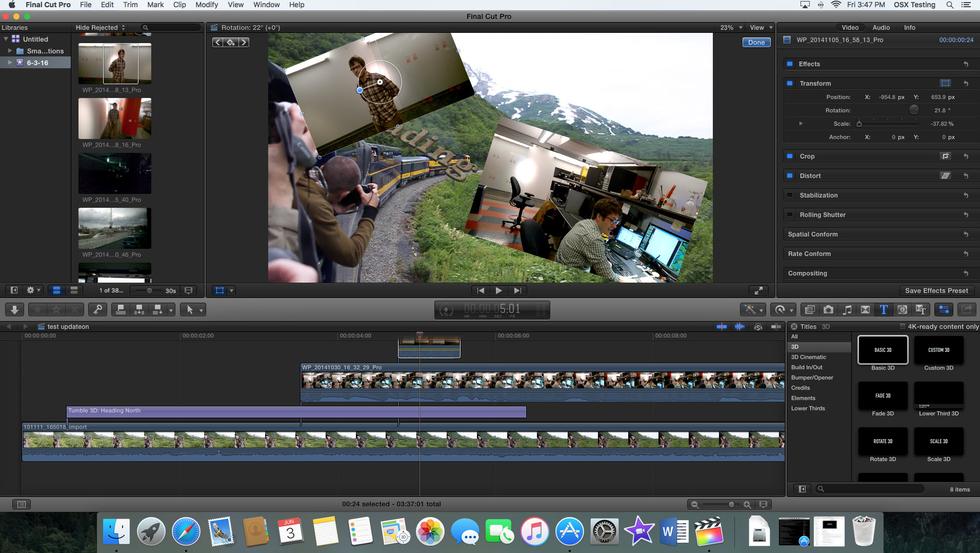
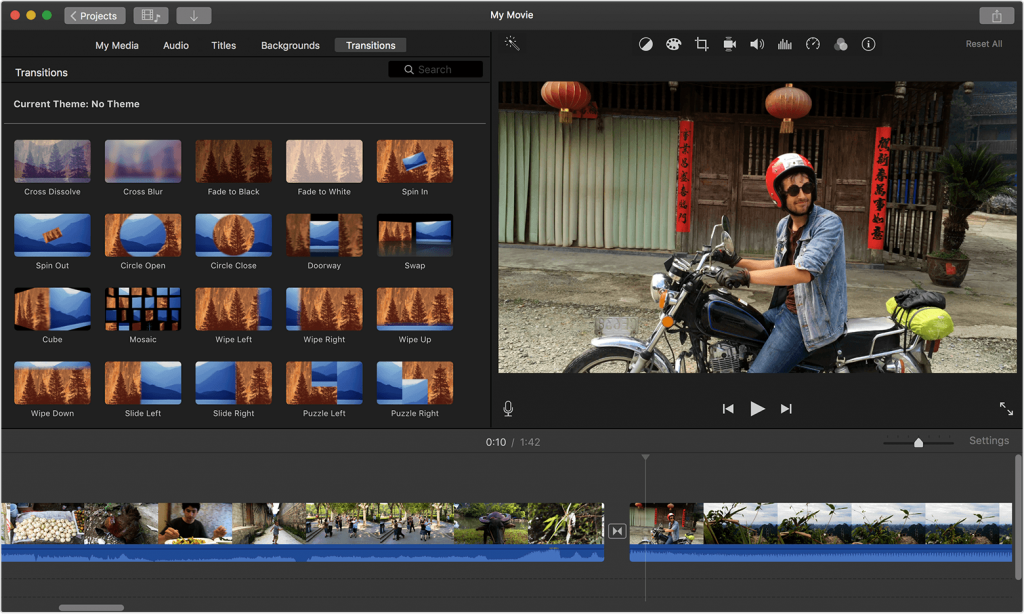
For Mac users, it will be so cool to turn the Spark video clips into more attractive ones for sharing or burning to DVD with the help of iMovie, Final Cut Pro X, or other non-linear editing software. As we all know, MP4 is the most common video format in this world, however it isn't friendly with non-linear eiditng software.
What's more, HD, Full HD videos from Spark is less compressed or uncompressed, that will end up with a large file size which will occupy a lot of space when storing them on your smartphone or tablet. Also, all video sharing websites like Vimeo, YouTube have limits for uploading large videos. These are the reasons why I say playing and editing HD, Full HD videos from Spark is a difficult task. To solve those issues above, you need a third-part assistant - best Spark video converter.
Find the Best Spark Video Converter for Mac
Pavtube iMedia Converter for Mac | Windows is highly recommend to you, which can solve these issues above and for all by transcoding Spark video to what you need. Following are the key features for you to know this software in depth.
- Encode Spark Video to any video and audio format like AVI, WMV, MP4, MKV, MOV, M4V, VOB, DV, ASF, MPG, MP3, M4A, AAC, etc. for palyback on various portable device and media player, such as iPhone, iPad, Samsung smartphone, Windows Media Player, QuickTime media player, etc.
- To acquire perfect playback effect on target smartphones, tablets, media players, etc. you can freely adjust parameters settings including video codes, video size, bitrate, frame rate, etc.
- Convert 1080p Spark Video to 720p for smaller video size, then you can save more space for your smartphone or tablet when watching on them.
- Various practical editing functions, such as trim, split, crop, add watermark and so on. For example, if your want to remove a few clips in your Spark video, you can use "trim" option to remove unwanted part quickly. Or merging several Spark video clips into one video is also very cool.
- Able to read footage from Spark, Canon, Nikon, Sony, Pansonic, etc. And then output decent video format for further editing in Nonlinear Editor, including FCP, iMovie, Premiere Pro, etc.
- Free lifetime technical support and upgrade service are available for every user. You can read this guide to get more details.
Below are the specific steps to show you how to encode Spark videos with this software. It Windows version has the same operating procedures.
How to Encode Spark Videos with the best Spark Video Converter on Mac?
Step 1. Load Spark Video files
Launch this best Video converter on your Mac. Click "Add Video" or directly drag and drop the Spark video file into the software.This Mac version software also supports batch conversion to encode your Spark Videos.

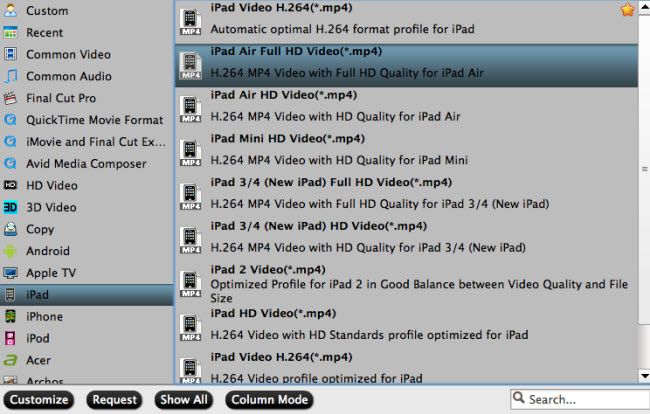
Step 2. Select output format
Click on "Format" bar, and you can freely select output format from its drop-down list. You can choose H.264 MP4 from "Common Video" or "HD Video" for common portable device and media players. If your media player or devices support HEVC codec, convert Spark video to H.265 MP4 will also be available. For further editing in NLE system, just go to "Final Cut Pro" "Avid Media Composer" or "iMovie and Final Cut Express" categories to choose the video formats you need.
This Spark video converter also allows you to choose format device. For example, if you want to convert videos to iPhone, you can simply go to "iPhone" category to select specific iPhone model.

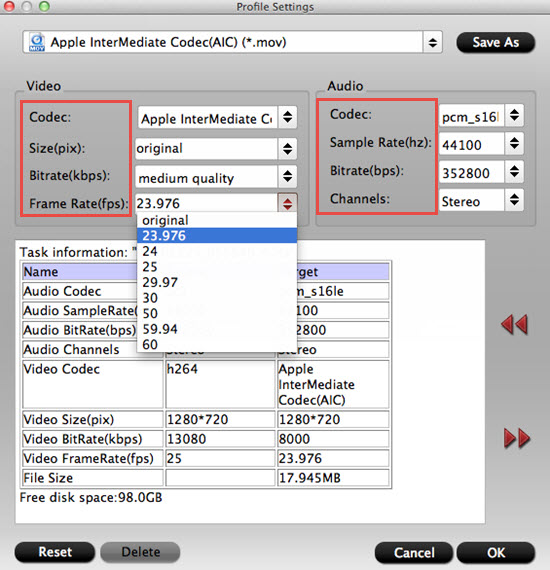
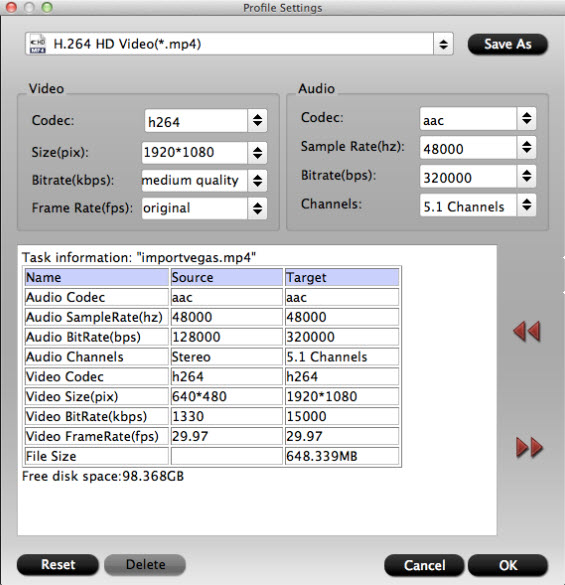
Step 3: Customize Spark Videos
As we mentioned above, this Spark Video Converter provides a built-in video editor. You are allowed to adjust video and audio parameters if you are not satisfied with the default settings. Presets like size, bitrate, frame rate, audio channels, etc. can be customized in your own way.

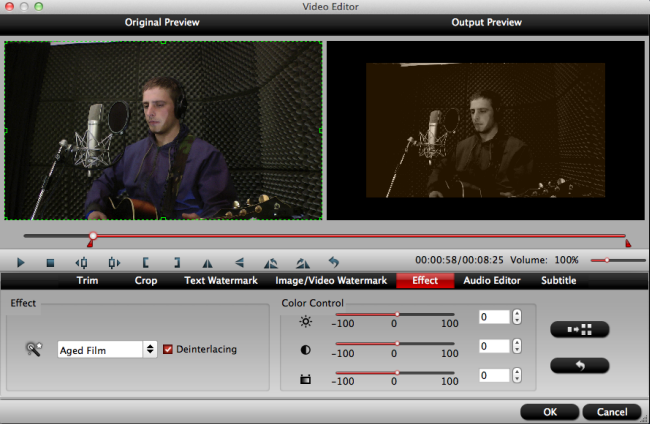
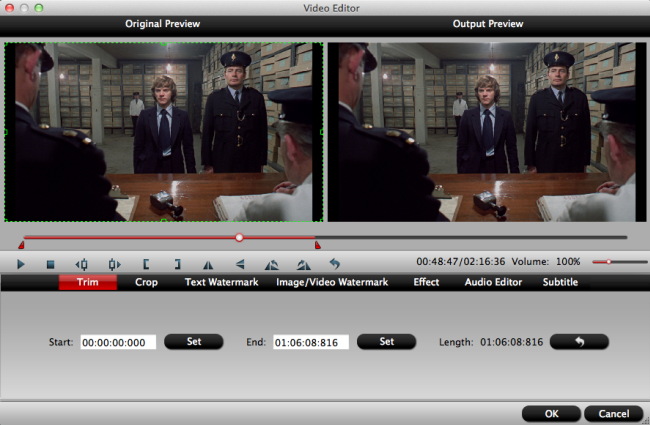
Click "Edit" button on the main interface to open the "Video Editor" window. Here, you can trim, crop, add subtitle, add watermark, replace/mute audio, adjust aspect ratio, adjust volume, rotate, flip, add special effect to video.
Step 4: Start encoding Spark Videos
Click "Convert" button to start converting Spark video. When the conversion process is finished, you can locate the generated video files in output folder. Then you can play, upload and share the Spark Videos wherever you like.
Related Articles
- Upload DJI Spark videos to Youtube, Vimeo, Instagram
- How to Smoothly Upload DJI Phantom 4 Pro+ 4K to YouTube with Best Quality?
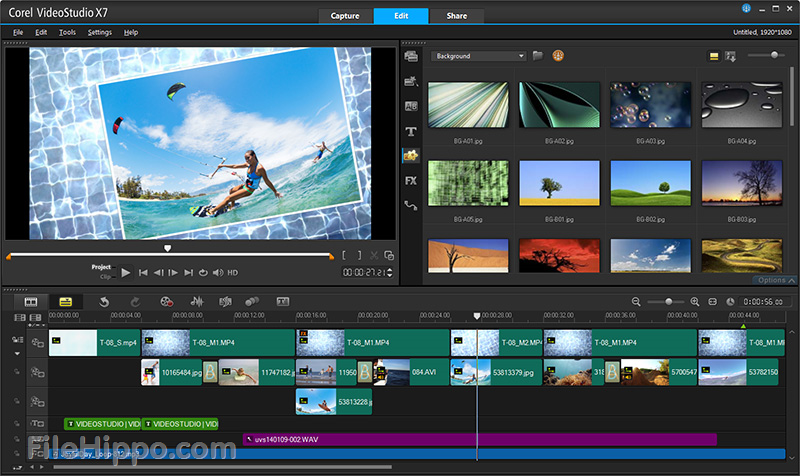
- 5 Best Free Mac DJI Video Editing Software For DJI Phantom/Inspire
- Best Editing Workflow of DJI Osmo 4K Video with iMovie/FCE on Mac
- Losslessly Downscale DJI Inspire 1 4K Video to 1080p for Smooth Playing and Editing
Any Product-related questions?support@pavtube.com