Watching DVD movies on iPhone, iPad and iPod touch could be such an enjoyment; the workflow is quite common as we now have so many rippers on the marketplace. But since we are talking about DVDs, it's much important to keep the original chapter marker when playback; y'all agree?
As myself, I own a large collection of DVDs and like to watch them on the subway to work with iPhone, stream DVD movies to my home media server so kids could watch them on iPad, etc. As languages we use German, English and Spanish, so I have to find out a workflow to rip DVD collections to MP4 with chapter marker and it's better to include at least three audio tracks in one conversion.
With such a tough task, I had spent a lot of time searching online, tried several SWs - some ok but always something that does not quite to do what I need. Luckily, I finally got this Pavtube ByteCopy (lol).
Pavtube ByteCopy is a pro version Blu-ray/DVD ripping program, it’s not only able to remove disc encryption and transfer to iPhone, iPad and iPad touch readable format, but also keeps the original DVD/Blu-ray chapter marker and multiple audio tracks, so that you can free switch the language during playback.
You can download a trial version (no time limit) firstly, you can get 30% OFF on Pavtube New Site Special offer.
Tips:
1. Although this ByteCopy should be able to rip Blu-rays, I have no experience with it as I don’t have an external Blu-ray drive. But one of my friends had a test and said it’s quite worthy a try. (ByteCopy Review)
2. Mac version is also available: Pavtube ByteCopy for Mac
How to rip DVD to MP4 with chapter marker for iPhone, iPad and iPod touch?
Get this ByteCopy installed and let’s start the workflow easily.
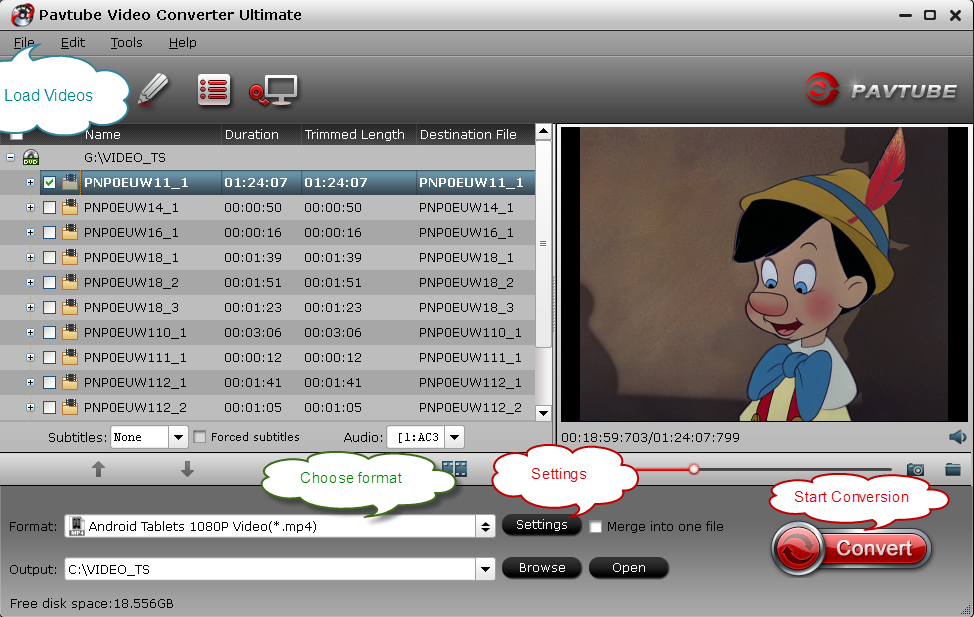
Step 1. Import DVD disc, DVD folder, IFO/ISO image files.
Insert DVD disc to your ROM, click “Load files” to import DVD disc directly from ROM. If you have IFO/ISO and DVD folder, choose the corresponding option to load DVD movies from your computer.
The main title in your DVD will be checked by default; so let’s move on and choose format.
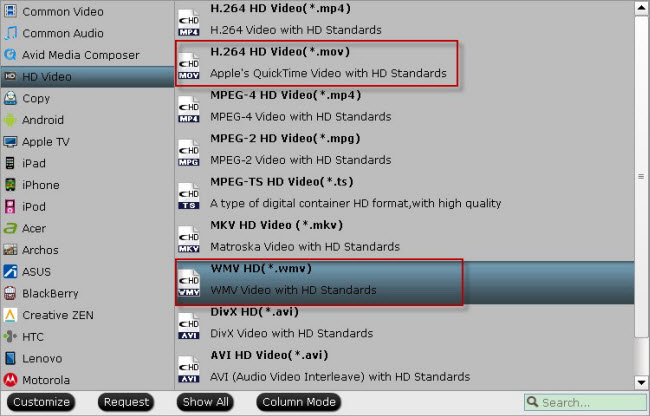
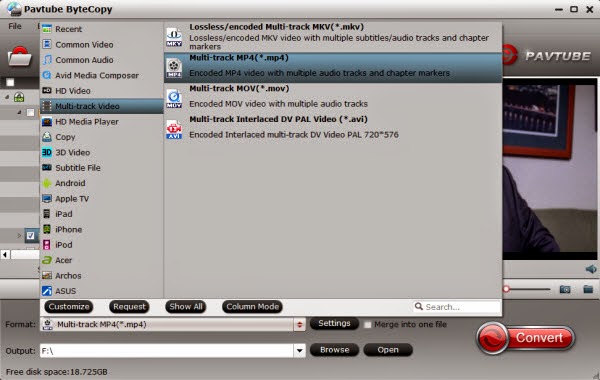
Step 2. Choose format.
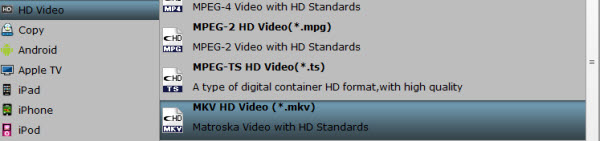
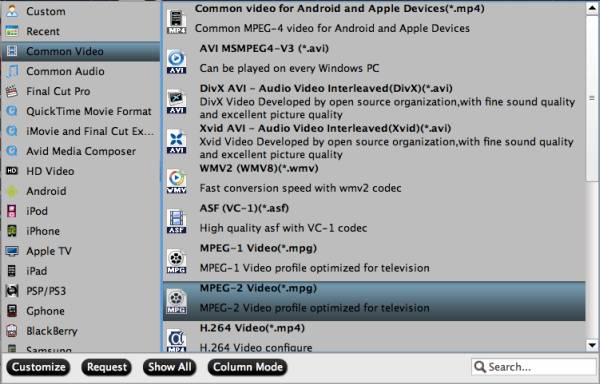
Click the “Format” drop-down list and choose “Multi-track Video>Multi-track MP4(*.mp4)” as below:
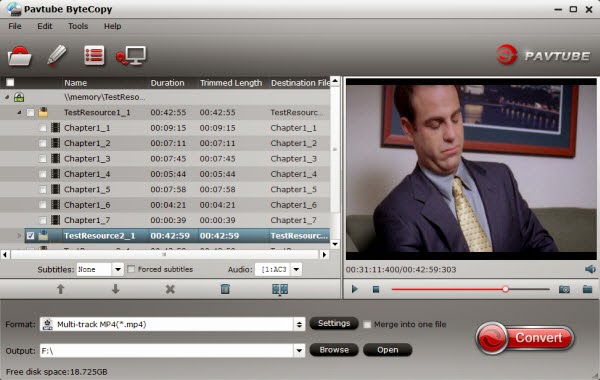
Step 3. Adjust video&audio settings (optional)
Click the “Settings” button to check all video&audio settings. By default it will check all the audio tracks (languages), so if you only need some of the languages, just check the unwanted ones.
Btw, video size, bitrate and frame rate can all be changed if you are not satisfied with default settings.
Don’t forget to click OK to confirm all the changes.
Step 4. Start conversion.
Click the big red “Convert” to start converting DVDs to MP4 with multiple languages. The original DVD chapter marker will be kept automatically.
After conversion, hit the “Open” or “Open output folder” icon to quick locate converted MP4 videos, transfer it to your iPhone/iPad/iPod via iTunes.
OK! We now can watch DVD movies on iOS devices with chapter markers and languages.
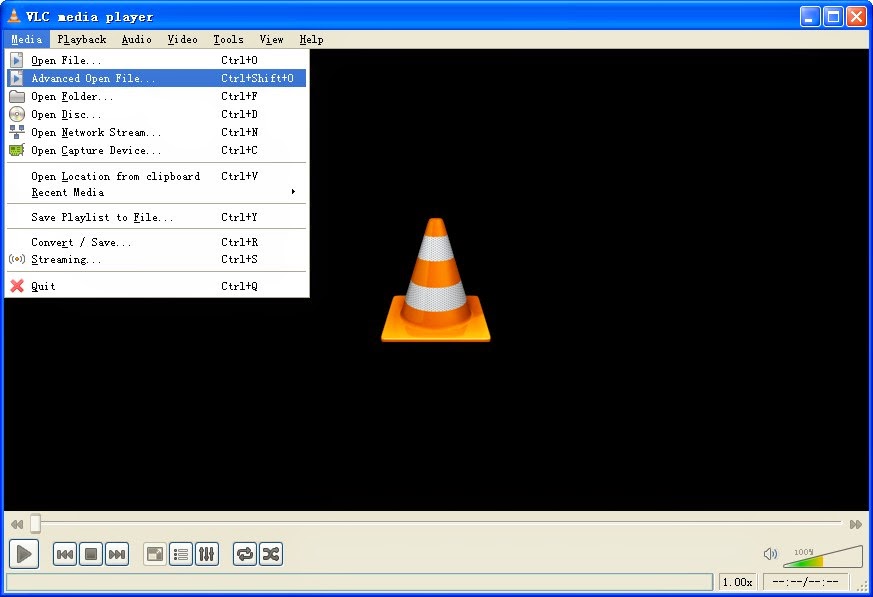
FYI: QuickTime cannot work with all the videos with chapter markers; in case of the problem, you are suggested to download a VLC Player for IOS here.
Money saving bundles:
As myself, I own a large collection of DVDs and like to watch them on the subway to work with iPhone, stream DVD movies to my home media server so kids could watch them on iPad, etc. As languages we use German, English and Spanish, so I have to find out a workflow to rip DVD collections to MP4 with chapter marker and it's better to include at least three audio tracks in one conversion.
With such a tough task, I had spent a lot of time searching online, tried several SWs - some ok but always something that does not quite to do what I need. Luckily, I finally got this Pavtube ByteCopy (lol).
Pavtube ByteCopy is a pro version Blu-ray/DVD ripping program, it’s not only able to remove disc encryption and transfer to iPhone, iPad and iPad touch readable format, but also keeps the original DVD/Blu-ray chapter marker and multiple audio tracks, so that you can free switch the language during playback.
You can download a trial version (no time limit) firstly, you can get 30% OFF on Pavtube New Site Special offer.
Tips:
1. Although this ByteCopy should be able to rip Blu-rays, I have no experience with it as I don’t have an external Blu-ray drive. But one of my friends had a test and said it’s quite worthy a try. (ByteCopy Review)
2. Mac version is also available: Pavtube ByteCopy for Mac
How to rip DVD to MP4 with chapter marker for iPhone, iPad and iPod touch?
Get this ByteCopy installed and let’s start the workflow easily.
Step 1. Import DVD disc, DVD folder, IFO/ISO image files.
Insert DVD disc to your ROM, click “Load files” to import DVD disc directly from ROM. If you have IFO/ISO and DVD folder, choose the corresponding option to load DVD movies from your computer.
The main title in your DVD will be checked by default; so let’s move on and choose format.
Step 2. Choose format.
Click the “Format” drop-down list and choose “Multi-track Video>Multi-track MP4(*.mp4)” as below:
Step 3. Adjust video&audio settings (optional)
Click the “Settings” button to check all video&audio settings. By default it will check all the audio tracks (languages), so if you only need some of the languages, just check the unwanted ones.
Btw, video size, bitrate and frame rate can all be changed if you are not satisfied with default settings.
Don’t forget to click OK to confirm all the changes.
Step 4. Start conversion.
Click the big red “Convert” to start converting DVDs to MP4 with multiple languages. The original DVD chapter marker will be kept automatically.
After conversion, hit the “Open” or “Open output folder” icon to quick locate converted MP4 videos, transfer it to your iPhone/iPad/iPod via iTunes.
OK! We now can watch DVD movies on iOS devices with chapter markers and languages.
FYI: QuickTime cannot work with all the videos with chapter markers; in case of the problem, you are suggested to download a VLC Player for IOS here.
Money saving bundles:
- ByteCopy($42) + Video Converter Ultimate($65) = Only $79.9, Save $27.1
- ByteCopy($42) + DVD Creater($35) = Only $44.9, Save $32.1
- ByteCopy($42) + Vidpie($29) = Only $54.9, Save $16.1
- ByteCopy($42) + MXF MultiMixer($45) = Only $69.9, Save $16.1
Read More: