Q: “ Ripping DVDs with Kodi? Just wondering if there's an addon that will allow me to rip a dvd to my library with Kodi. It's not all that hard to rip a DVD and put the video on my server, but if I could find an easy to use DVD ripper addon, it would be great to be able to do it from within Kodi (XBMC).”
Kodi has its supported video formats like MPEG-1, MPEG-2, H.263, MPEG-4 SP and ASP, MPEG-4 AVC (H.264), H.265 (as from Kodi 14) HuffYUV, Indeo, MJPEG, RealVideo, RMVB, Sorenson, WMV, Cinepak, but DVD is not one of them. You need transfer DVD to Kodi accepted files like MKV, and then stream movies to play with Kodi via network. BTW, Pavtube DVDAid is the tool I used to save all my DVD to MKV.
I searched widely, and many guys recommend Pavtube DVD ripping software, it will bring the best audio / video for watching on Kodi. Unlike some free DVD ripping tools like Handbrake and MakeMKV, Pavtube DVDAid is an easy-to-use yet professional software to help you to solve the issue by giving us the ability to store our purchased physical DVD discs to Kodi(XBMC) for smoothly playback in HTPC on Windows. For those who're using a Mac OS X machine, please try its Pavtube DVDAid for Mac.
Main features:
Hot Search: MOV to Kodi | MP4 to Kodi| M2TS to Kodi | WMV to Kodi
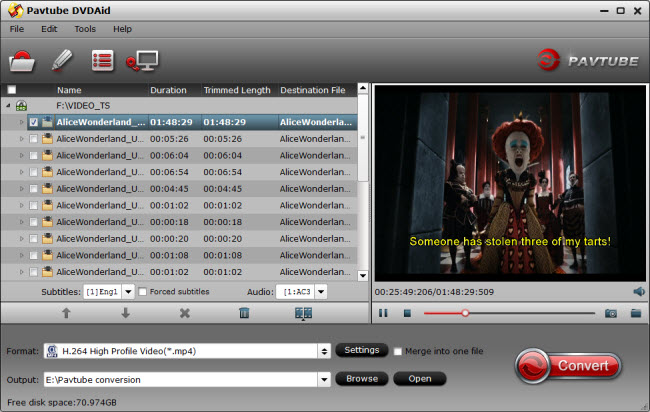
One of the great things about this DVD to XBMC Kodi file converter is the fact that it can be used to convert multiple files at a time. You can add multiple DVD files to the conversion queue.
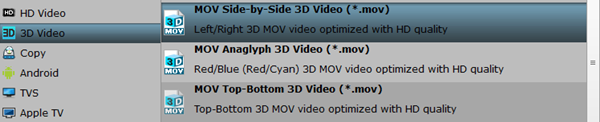
Step 2: Select MKV/MP4 as the output format
Click "Output Format" option to reveal the format drop-down list. In the "Format" > "Common Video" column, find "MKV(Matroska) Video (*.mkv)" or "H.264 Video(*.mp4)" or H.264 High Profile Video(*.mp4) and choose it as the output format for using on Kodi (xbmc) and playback on android tablet.

Step 3: Click on "Convert" on the lower right corner to launch the ripping process of DVD to XBMC Kodi. Wait for all the DVD files to be converted.
The two status bars show estimated time about the process. If you plan on walking away from the computer for sleep, tick the "Shut down computer when conversion completed" option. Default is unchecking.
After the conversion complete, simply put the movie from DVD onto XBMC for play back. Enjoy the movie!
If you want to backup your Blu-ray/DVD without quality loss AC3 5.1 audio for HTPC Media center, you can use Pavtube ByteCopy and refer to this guide.
Src: http://techmovieshare.blogspot.com/2015/05/rip-dvd-to-xbmc-kodi.html
Related Articles:
Kodi has its supported video formats like MPEG-1, MPEG-2, H.263, MPEG-4 SP and ASP, MPEG-4 AVC (H.264), H.265 (as from Kodi 14) HuffYUV, Indeo, MJPEG, RealVideo, RMVB, Sorenson, WMV, Cinepak, but DVD is not one of them. You need transfer DVD to Kodi accepted files like MKV, and then stream movies to play with Kodi via network. BTW, Pavtube DVDAid is the tool I used to save all my DVD to MKV.
Learn more >> The most powerful software of comparative
Main features:
- Best DVD ripping software on the market
- Rip DVD to Kodi supported file formats
- Rip and convert DVD movies to MP4/AVI/MKV/WMV,etc with high quality.
- Makes 1:1 copy of original DVD Disc without quality loss with all audio streams, subtitle tracks, extras, etc.
- With CUDA/AMD GPU acceleration, and you will take short time of converting and get hours of enjoyments.
It’s simple to use and well worth the investment. - Support latest DVD
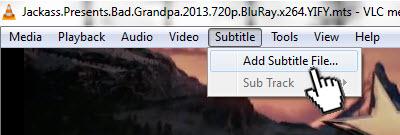
- Features with adding *.srt and *.ass subtitle
Hot Search: MOV to Kodi | MP4 to Kodi| M2TS to Kodi | WMV to Kodi
Note: Today, we're just going to show you the simplest steps to convert DVD to XBMC Kodi file.
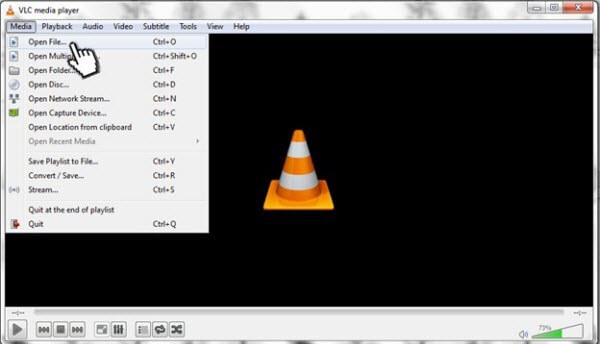
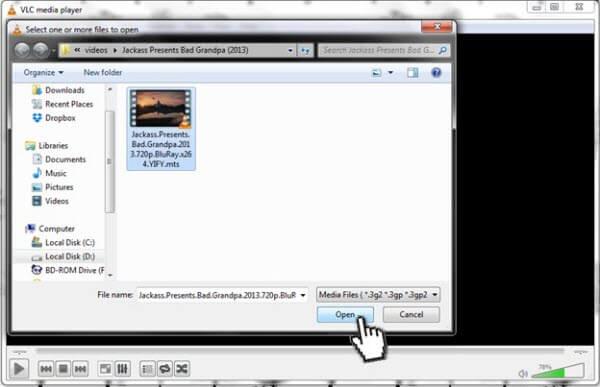
Step 1: Launch DVD Ripper, click "File" to import DVD file into the program.One of the great things about this DVD to XBMC Kodi file converter is the fact that it can be used to convert multiple files at a time. You can add multiple DVD files to the conversion queue.
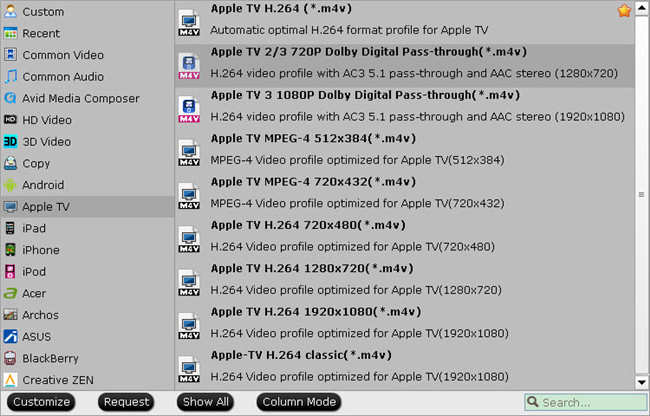
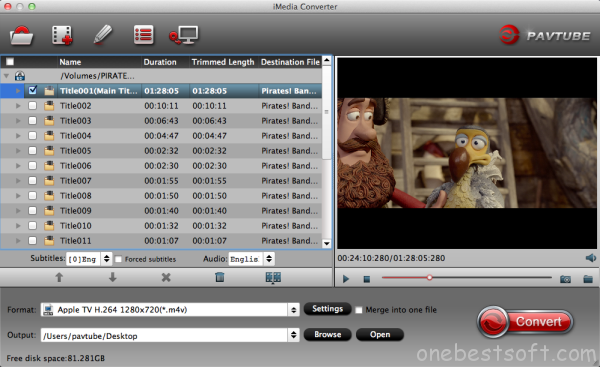
Step 2: Select MKV/MP4 as the output format
Click "Output Format" option to reveal the format drop-down list. In the "Format" > "Common Video" column, find "MKV(Matroska) Video (*.mkv)" or "H.264 Video(*.mp4)" or H.264 High Profile Video(*.mp4) and choose it as the output format for using on Kodi (xbmc) and playback on android tablet.
Step 3: Click on "Convert" on the lower right corner to launch the ripping process of DVD to XBMC Kodi. Wait for all the DVD files to be converted.
The two status bars show estimated time about the process. If you plan on walking away from the computer for sleep, tick the "Shut down computer when conversion completed" option. Default is unchecking.
After the conversion complete, simply put the movie from DVD onto XBMC for play back. Enjoy the movie!
If you want to backup your Blu-ray/DVD without quality loss AC3 5.1 audio for HTPC Media center, you can use Pavtube ByteCopy and refer to this guide.
Src: http://techmovieshare.blogspot.com/2015/05/rip-dvd-to-xbmc-kodi.html
Related Articles:
- BD to LG TV - Ripping Blu-ray for playback through Kodi via LG TV
- Rip Blu-ray/DVD to Roku Streamed via Emby Media Server
- All Solutions About How to Rip DVDs and get them on a Media Server
- Copy/Backup Blu-ray/DVD to Seagate NAS HDD in Different Ways
- How to Copy/Backup Blu-ray/DVD to USB Flash Drive on Mac/Windows?
- Rip DVD for Kodi 17 Playback
 Install