This article will tell you what is .tpd file, where is .tpd file from, whether is it possible to play .tpd on your computer, and how to convert .tpd video to mp4 for wathing.

What is .tpd file?
The TDP file extension is associated with applications, that are developed by the CyberLink like PowerDirector video editing suite for Windows etc. The TPD file stores video is recorded by JVC Everio digital camcorders.
Where is .tpd file from?
Most JVC Everio owners would prefer to edit the footages mostly TOD files, in Cyberlink Power Director and make them into short films. In order to maintain best visual quality, the processed movie projects are often saved as TPD file which can be uploaded to the JVC hard disk and played back on the camcorder.
Play .tpd files on your computer
Recently, someone has emailed me a TPD file which records his precious memorable moments during this holiday summer, and I'm not sure how to open it. Trying to do it, but windows tells me that I can't open it, and worse still, I encounter a TPD file related error message as below:
Convert .tpd files for playback on your PC
As the files is sent by my friend, and to play this TPD files on Windows PC, I don't want to pay extra money to get a program to play it. Then I think the best way for me is to convert .tpd to WMV/MP4 which is much friendly to PC for enjoying.

To accomplish this goal, a professional app for converting .tpd to MP4 is strongly recommended, that is Pavtube Video Converter Ultimate/iMedia Converter for Mac. It is an easy-to-use .tpd video converter app for completing the task to convert JVC .tpd video to MP4/WMV format. You can totally depend on it.
Now begin to operate the .tpd to MP4/WMV format conversion.
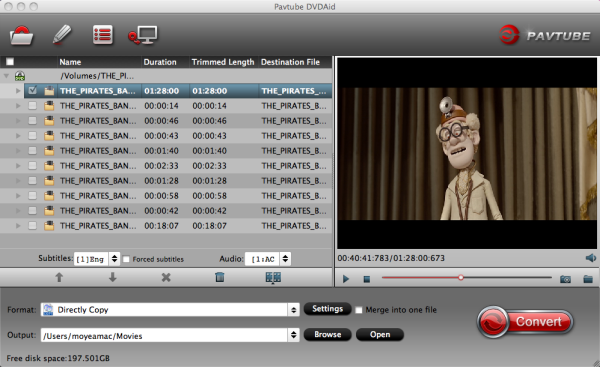
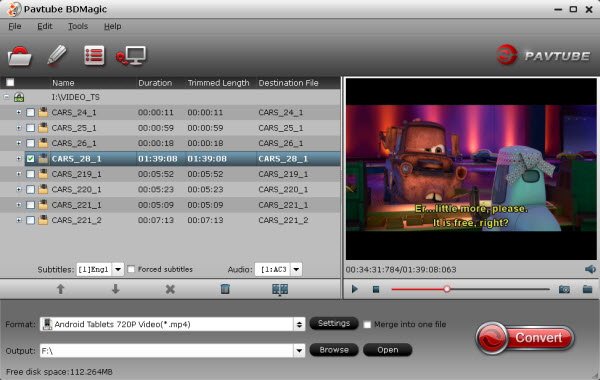
1. Add .tpd files to the application
Install and run the best .tpd Video Converter, import the .tpd videos by clicking "Add video",you can also directly drag and drop .tpd files to the program.
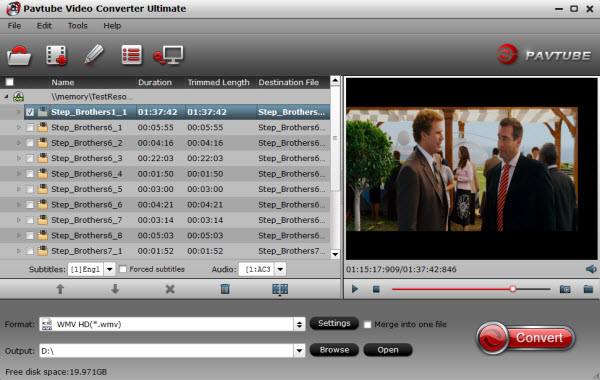
Moreover, if you need combine multiple .tpd files to be as a single file, you can tick the checkbox "Merge into one file" to achieve this goal.
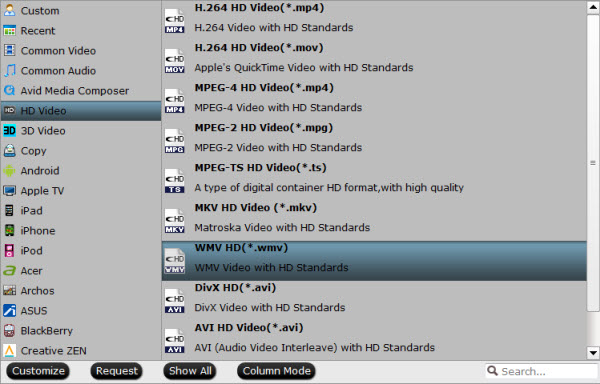
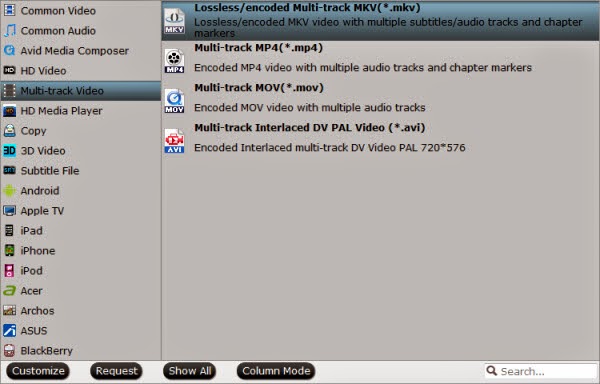
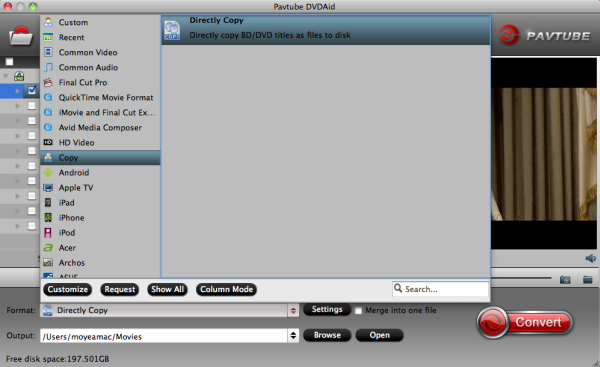
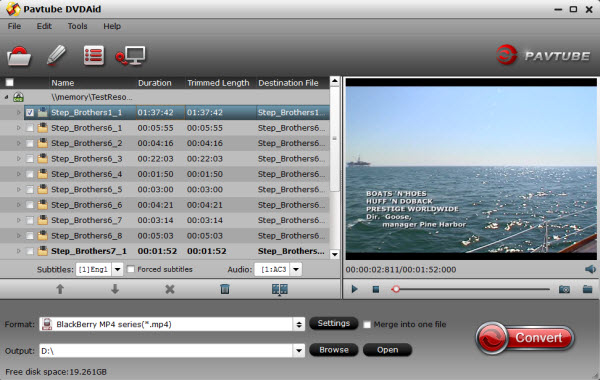
2. Choose the output format
Now you should choose "WMV HD(*.wmv)" or "H.264 HD Video(*.mp4)" as the output format. This is the best and native format for storage, playback and sharing.
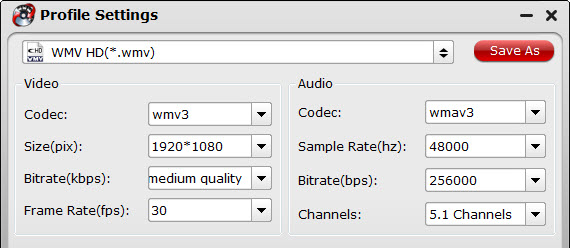
3. You can click settings to adjust the parameters
4. Start the .tpd Video Conversion
Click the "Convert" button to get the .tpd to MP4/WMV conversion done.
Just in a few minutes, you can transfer or put the converted videos on iPad, iPhone and other tablets or samrtphones for watching, backing up on your PC/Mac, or uploading for sharing .
With Pavtube .tpd Video Converter, you can convert .tpd video to MP4 format easily on Windows computer. If you are mac users, choose Pavtube iMedia Converter for Mac.
Refer more related articles:
Best MP4 Players to Play MP4 Files in Windows/Mac
Best Video Player Apps for iOS & Android devices
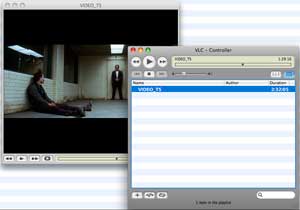
Directly copy DVD into a vob file to play with VLC Media Player on Mac
What is .tpd file?
The TDP file extension is associated with applications, that are developed by the CyberLink like PowerDirector video editing suite for Windows etc. The TPD file stores video is recorded by JVC Everio digital camcorders.
Where is .tpd file from?
Most JVC Everio owners would prefer to edit the footages mostly TOD files, in Cyberlink Power Director and make them into short films. In order to maintain best visual quality, the processed movie projects are often saved as TPD file which can be uploaded to the JVC hard disk and played back on the camcorder.
Play .tpd files on your computer
Recently, someone has emailed me a TPD file which records his precious memorable moments during this holiday summer, and I'm not sure how to open it. Trying to do it, but windows tells me that I can't open it, and worse still, I encounter a TPD file related error message as below:
Convert .tpd files for playback on your PC
As the files is sent by my friend, and to play this TPD files on Windows PC, I don't want to pay extra money to get a program to play it. Then I think the best way for me is to convert .tpd to WMV/MP4 which is much friendly to PC for enjoying.
Now begin to operate the .tpd to MP4/WMV format conversion.
1. Add .tpd files to the application
Install and run the best .tpd Video Converter, import the .tpd videos by clicking "Add video",you can also directly drag and drop .tpd files to the program.
Moreover, if you need combine multiple .tpd files to be as a single file, you can tick the checkbox "Merge into one file" to achieve this goal.
2. Choose the output format
Now you should choose "WMV HD(*.wmv)" or "H.264 HD Video(*.mp4)" as the output format. This is the best and native format for storage, playback and sharing.
3. You can click settings to adjust the parameters
4. Start the .tpd Video Conversion
Click the "Convert" button to get the .tpd to MP4/WMV conversion done.
Just in a few minutes, you can transfer or put the converted videos on iPad, iPhone and other tablets or samrtphones for watching, backing up on your PC/Mac, or uploading for sharing .
With Pavtube .tpd Video Converter, you can convert .tpd video to MP4 format easily on Windows computer. If you are mac users, choose Pavtube iMedia Converter for Mac.
Refer more related articles:
Best MP4 Players to Play MP4 Files in Windows/Mac
Best Video Player Apps for iOS & Android devices
Directly copy DVD into a vob file to play with VLC Media Player on Mac


