MXF is widely used in high definiton camcorders like Canon XF305, Canon C300, Panasonic P2, etc. If you are users of these camcorders, you could find the recorded footages are in .mxf format. Then you may want to transfer the MXF files to Final Cut Pro for editing. However, most of the time you may encounter importing and codec problems. As we all know, MXF is much more popular than before, it is not difficult. MXF is adopted by most professional video editing systems, such as Adobe After Effects, Adobe Premiere Pro, Avid and so on, but it is hard to edit the MXF file in any editor like iMovie, Final Cut Pro and more as MXF is not compatible with them. To break the limitation of MXF file and edit MXF file on your Mac, a professional MXF to ProRes Converter is badly needed.
We strongly recommend you Pavtube iMixMXF, which could turn MXF videos into virtually any formats for multiple purpose. This wonderful transcoder supports you to convert MXF files to H.264/MPEG-4 AVC, H.265/MPEG HEVC, MOV, M4V WMV, MKV files for playback on your media player. This software also supports Windows version - Pavtube MXF MultiMixer for you to choose from.
For those people who want to preserve the multi audio tracks, Pavtube iMixMXF has full support for all MXF files generated by Canon XF series, Sony XDCAM, Panasonic P2,and Avid Media Composer, and so on. iMixMXF supports import multi-track MXF, and under its "Multi-track video" category, you can output Multi-track MP4/MKV/MOV, and Multi-track Interlaced DV PAL video (.avi) for playback on massive media player. If you are a Mac user, here are 5 kinds of "Multi-track Apple ProRes" for you to select, then edit on iMovie, Final Cut Pro, and other Mac editing software without lossing any channel. Furthermore, for convenience, this professional assistant grants you to choose to mix the MXF multi track/channel audio into one or just keep them. Mixing the multi tracks/channel means you can get single audio with all channels, including the audios of background, interviewer, and interviewee.
How to Transcode Canon MXF to Apple ProRes with multiple audio channels on Mac?
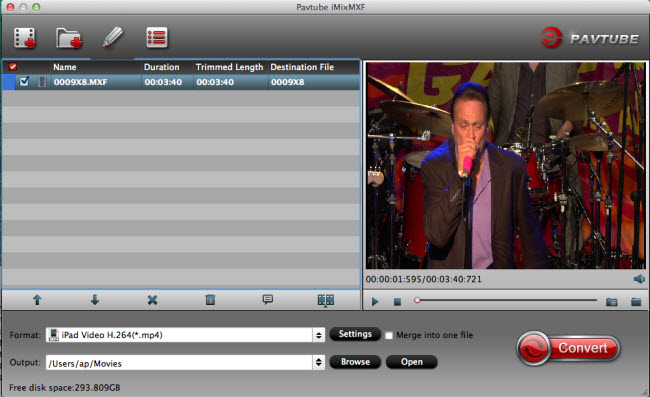
Step 1: Load Canon MXF files with multiple audio tracks.
Launch Pavtube iMixMXF on your Mac, click the “Load file” or “Add Video” icon on the main interface to import Canon MXF files with multiple audio tracks into the program.
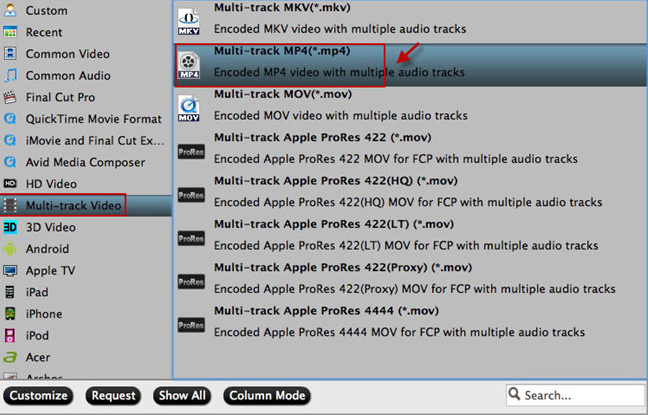
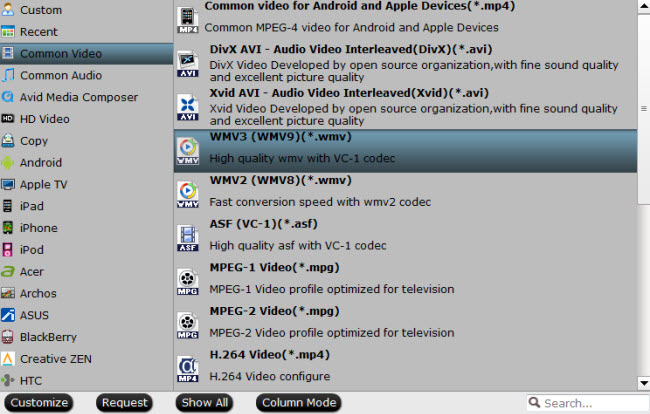
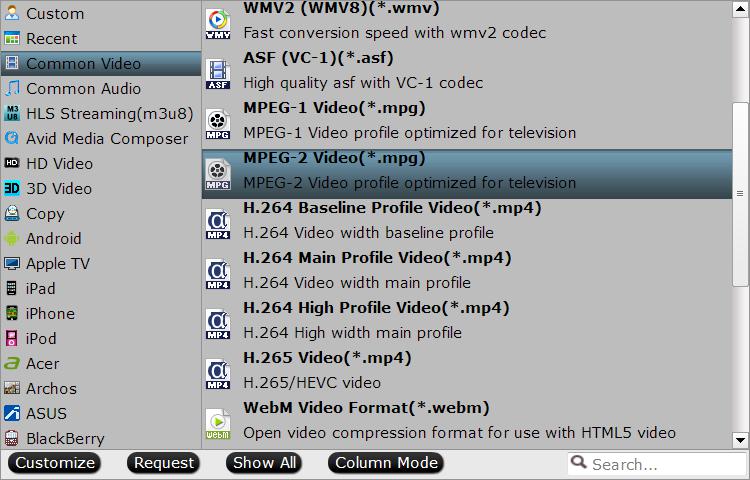
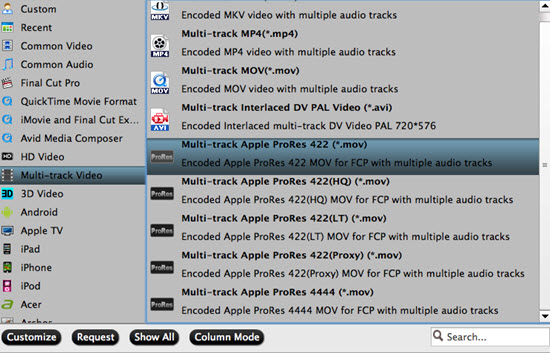
Step 2: Output Multi-track video format.
Click the "Format" bar, swim in its drop-down list, navigate to "Multi-track video" main category, this program offers 5 kinds format of "Multi-track Apple ProRes" for editing on Mac.
Tip: And Apple Prores codecs under "Final Cut Pro" category cannot keep multi tracks. The only way to output multi-track Apple Prores is to chose them under "Multi-track Video" category.
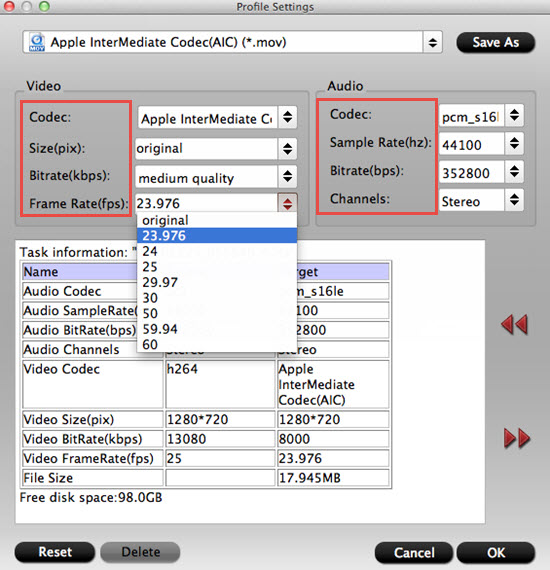
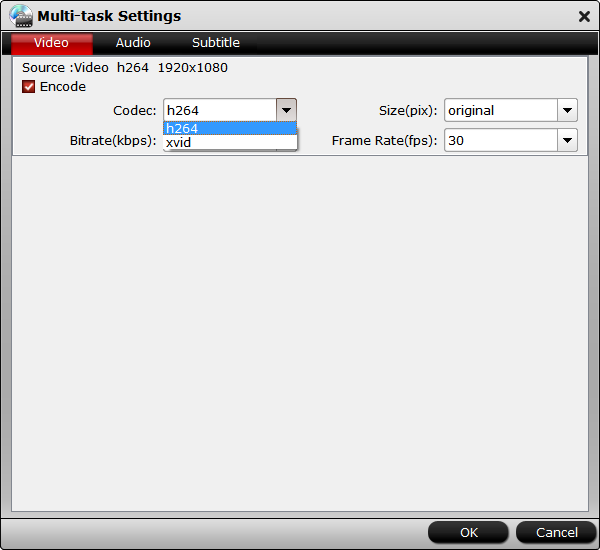
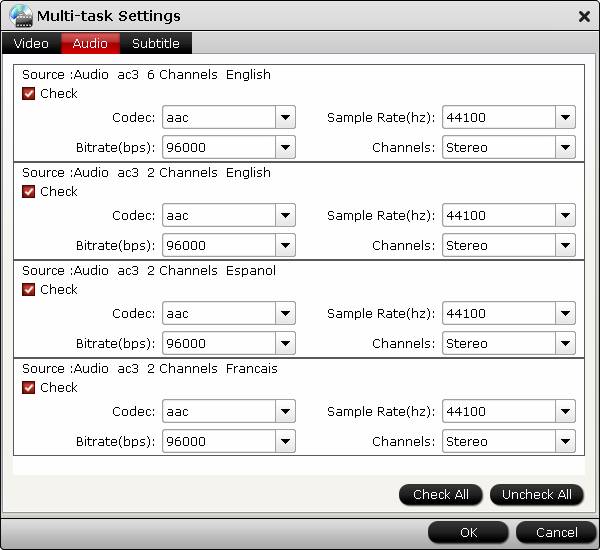
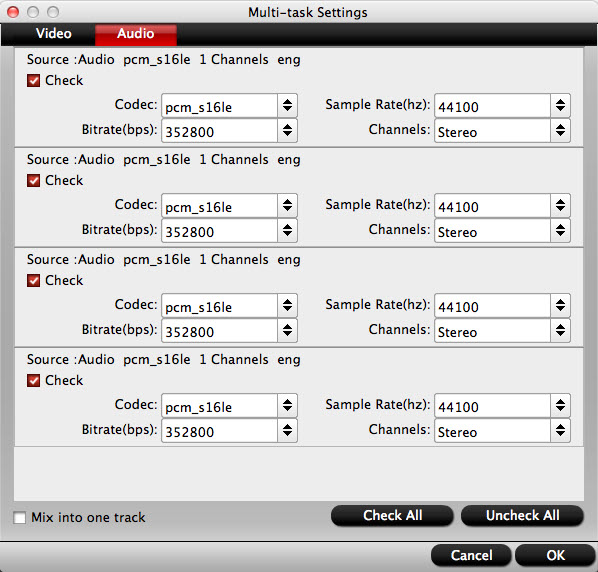
Step 3: Adjust multi-track settings.
Click "Settings" window on the main interface and pop up the "Multi-task Settings", here you can ckeck or unckeck video/audio channels as you like.
Tip: Mix audio tracks: Check “Mix into one track” under the left bottom of “Multi-task Settings” interface, you can then mix the multiple audio tracks into one as we just talk above the article.
Step 4: Convert Canon MXF files with multiple tracks.
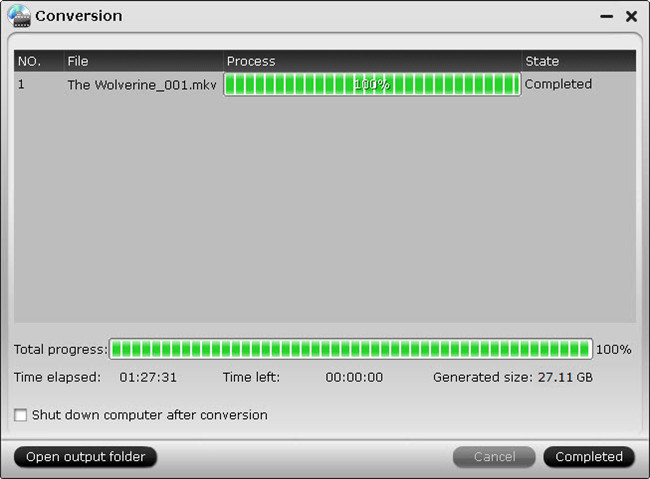
Start Canon MXF files with multiple tracks conversion by hitting the "Convert" button. Just wait for a second, you can click the "Open" button of the main interface and that will pop up the folder with converted file.
After you have done all those settings, you can edit Canon MXF files in FCP, or other editing software. If you are confused about how to import Canon footage into Final Cut Pro, here is a guide for you.


Related Articles
- Upload Sony/Canon/Panasonic MXF Files to YouTube with Best Quality
- Import Sony XDCAM/Canon XF/Panasonic P2 MXF to Avid Media Composer
- How to Import Avid MXF to FCP 7/X for Editing with Best Workflow?
- Transcode and Edit XDCAM MXF in Premiere Pro (CC, CS6, CS5, CS4)
- Import and Edit DNxHD MXF in Premiere Pro (CC, CS6, CS5, CS4)
Hot Articles & Reviews
Any Product-related questions?support@pavtube.com