 Install Plex Media Server on Raspberry Pi 3. Thanks to the work of uglymagoo on the Plex forum it is very easy to install Plex using the Synology armv7 package (now it uses the ReadyNAS package). The previous Raspberry Pi 2 guide became quite long and cluttered, this one aims to be cleaner.
There is a Plex Media Server Raspberry Pi 3 image based on the minimal Raspbian distro Minibian at the bottom of this post with the required modification to force Plex transcoding if you just want to test if Plex on the Raspberry Pi 3 will suit your needs. This tutorial assumes you are running Raspbian Jessie. This how-to also has a section on fixing Plex permissions so if your Plex can’t see your folders then you will be able to solve that problem here.
Install Plex Media Server on Raspberry Pi 3
Installation Checklist
For the best performance for Plex Media Server on the Raspberry Pi 2 refer to this checklist
- Verify you have the en_US locale
- Make sure you have libexpat1 installed
- Do not use WiFi if you want the best result
- Monitor Plex Media Server and restart it automatically with this guide.
- Do not use Plex.tv instead use Dynamic DNS and a reverse proxy with this guide to avoid transcoding problems.
- If you are having transcoding issues try using an older transcoder with this guide.
Pre-Install Requirements
Generate Locales
First we need to verify the en_US locale is enabled
This command lists current locales
locale -a
My output looks like this
C C.UTF-8 en_US.utf8 POSIX
If you don’t have en_US.utf8 you can generate it
To generate the locale edit the locale generator configuration file first to enable the locale
sudo nano /etc/locale.gen
Uncomment this line by deleting the #
# en_US.UTF-8 UTF-8
Ctrl+X, Y and Enter to save
Now generate the locales
sudo locale-gen
If you get the locale-gen cannot be found error this should solve it
echo "export PATH=$PATH:/usr/sbin" >> ~/.profile
Now generate the locales again if locale-gen wasn’t found
sudo locale-gen
Reconfigure locales for good measure (source)
sudo dpkg-reconfigure locales
Now run locale to list them
locale
If you see these errors (on Jessie Lite) follow the next step
locale: Cannot set LC_CTYPE to default locale: No such file or directory locale: Cannot set LC_ALL to default locale: No such file or directory
Open your environment file
sudo nano /etc/environment
Add these lines
LC_ALL=en_US.UTF-8 LANG=en_US.UTF-8
Ctrl+X, Y and Enter to Save
Install Plex Media Server on Raspberry Pi 3 using Repository
Enable https transport or you will get this error: E: The method driver /usr/lib/apt/methods/https could not be found.
sudo apt-get update && sudo apt-get install apt-transport-https binutils -y --force-yes
Grab uglymaoo’s gpg key for his repository
wget -O - https://dev2day.de/pms/dev2day-pms.gpg.key | sudo apt-key add -
Add uglymagoo’s repository
echo "deb https://dev2day.de/pms/ jessie main" | sudo tee /etc/apt/sources.list.d/pms.list
Update your package lists
sudo apt-get update
Install Plex Media Server
sudo apt-get install plexmediaserver -y
Upgrading Plex is as easy as running this command
Note: The repository contains the latest non-Plex Pass version. If you want the Plex Pass version you will have to build it yourself using the manual method 3 outlined here.
sudo apt-get update && sudo apt-get upgrade -y
Check out additional hard drives for your media
Transcoding Tools
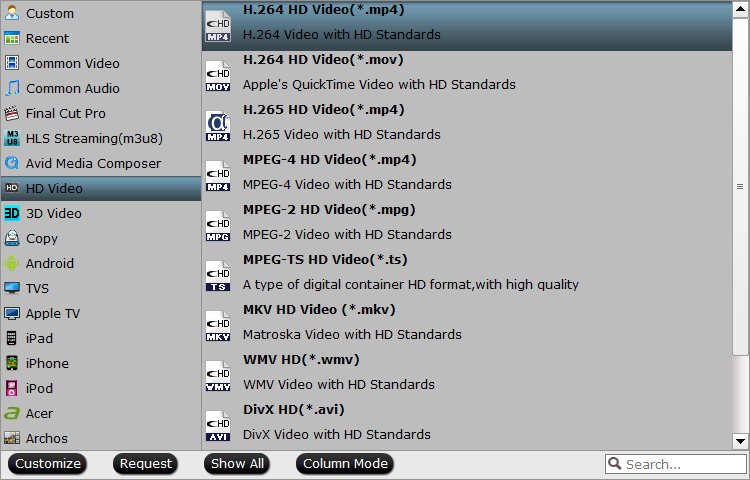
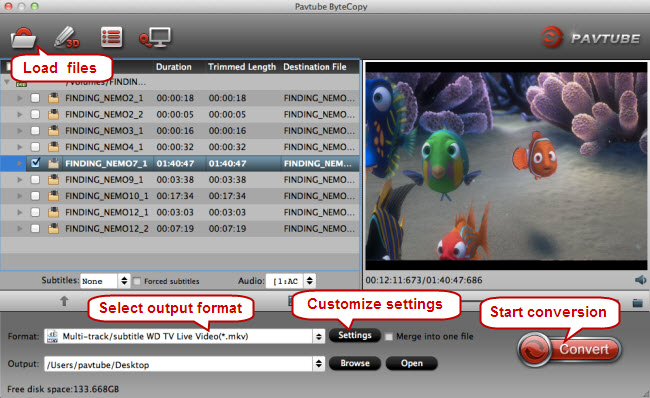
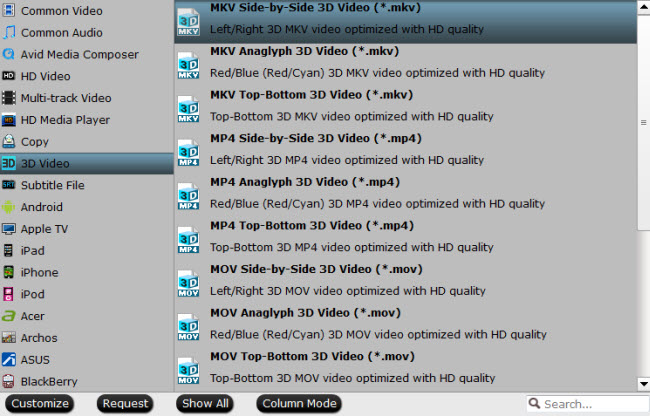
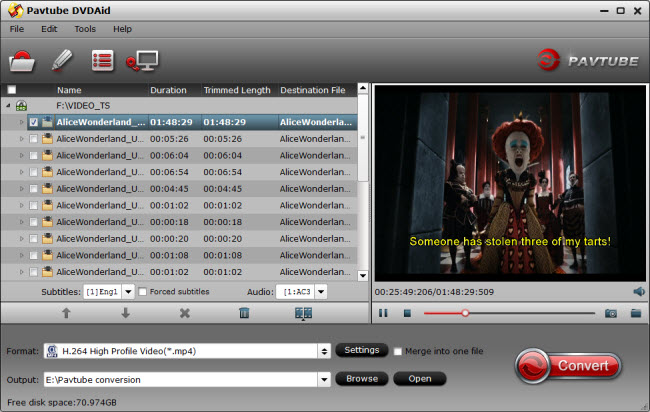
Plex Media Server requires a new libc6 module that you can pull from the jessie repo (thanks again to uglymagoo). This part may not necessary if you used the precompiled deb package at the top. Sometimes, if your end devices are low, your Plex can't pass-through some videos to play, you can transcode the video in advance with some video transcoders and put the converted video in sharing folder of Plex in advance.
Install libexpat1 for help playing in the Android app
sudo apt-get install libexpat1 -y
Fix Plex Permission Issues
If Plex isn’t reading your drives or folders you can do one of two things, change the permissions of your external storage or change the user Plex is running as (which could mean you need to rescan for metadata).
First try adding your plex user to your regular user’s group that owns the mount point for your hard drive
sudo usermod -aG pi plex
Then add your regular user to the plex group if the plex group exists
sudo usermod -aG plex pi
Then set the permissions for the folder containing your media to 775 so the plex in the user’s group can read them
sudo chmod -R 775 /folder/with/media
If that still fails you can change the permissions where /mnt/usbstorage is your mount path for your hard drive so everybody can read, write and execute
sudo chmod -R 777 /mnt/usbstorage
Alternatively you can change the user Plex runs as to your pi user
To change which user Plex runs as, open this file
sudo nano /etc/default/plexmediaserver
Change this line, replace plex with your username you use to log on or the owner of the mounted drive, most likely pi
PLEX_MEDIA_SERVER_USER=pi
Ctrl+X, Y and Enter to save
Change the owner of your Plex folders to the user you are changing
sudo chown -R pi:pi /var/lib/plexmediaserver
Then restart your Plex server
sudo service plexmediaserver restart
If Plex still isn’t working see the manual installation guide.
Raspberry Pi 3 Plex Media Server Image
If you cannot see the unlocker whitelist this site in AdBlock
Raspberry Pi Plex Media Server Images
Spread the knowledge to get the Pi goodness
For the Plex Media Server image, login with root, password htpcguides and use raspi-config to expand the file system, you can install WiFi drivers if they are not included in the kernel
apt-get install firmware-linux-nonfree -y
Enjoy Plex Media Server on your Raspberry Pi 3







 Install