After completing the editing workflow in iMovie, you may come the ideal to export the iMovie project to the WMV video which can be easily played on Windows platform with Windows Media Player, loaded and edited with Windows Movie Maker or sending via Email. The following article will share a way to make iMovie export WMV video easily.
It won't be difficult for you to export iMovie video to MP4, AVI, however, you will be disappointed to find that iMovie itself offer no output support for WMV video. Fortunately, you can easily fix this problem with a third-part iMovie video to WMV Converter.
The program we highly recommended to you is called Pavtube Video Converter to you. It supports batch conversion mode, you can load multiple iMovie video at one time for conversion to save your precious time. The program can assist you to convert iMovie video to WMV video with various different compression codec including a a high quality WMV files with VC-1 codec and also a fast conversion speed WMV2 codec.
Hot Search: Export iMovie Video to MP4 | Export iMovie Video to AVI
To get better output video and audio quality, you can flexibly adjust output profile parameters including video codec, resolution, bit rate, frame rate, audio codec, bit rate, sample rate, channels, etc as you like to in the program's "Profile Settings" window.
This iMovie video to WMV Converter is available on Windows 10, 8.1, 8 and 7. It is accompanied by an up-to-date Mac version - Pavtube Video Converter for Mac for macOS Sierra. The program is very stable and there are hardly any sudden crashes occur. In addition, the generated files by this program are high quality, you can't tell the difference between the output video and the original iMovie video files.


Get Pavtube Video Converter with 20% off discount, coupon codec: 45K2D47GJH |
Step by Step to Export iMovie Video to WMV Easily
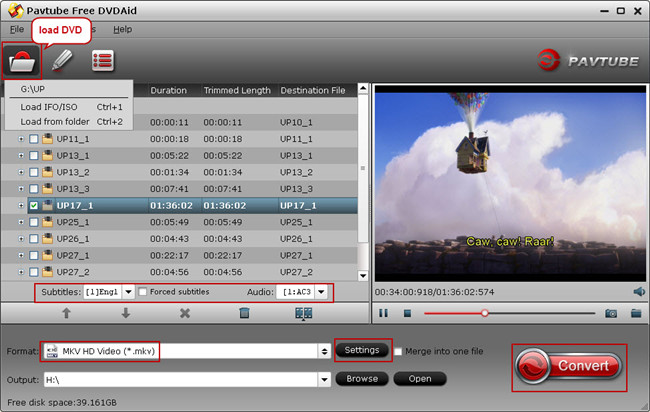
Step 1: Load iMovie video files.
Install and Launch the Mac conversion program on your computer. Click "File" menu and select "Add Video/Audio" or click the "Add Video" button on the top tool bar to import iMovie Project exported files into the program.

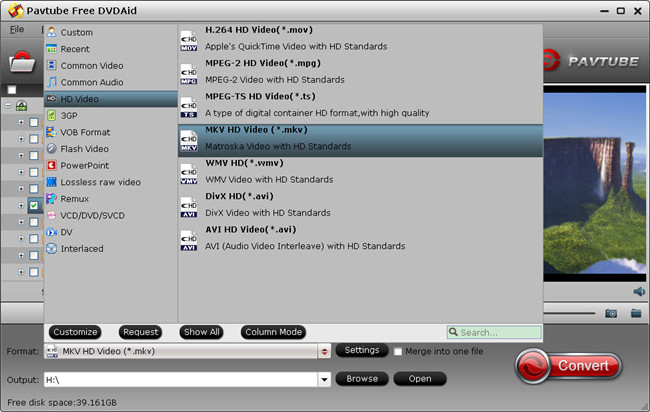
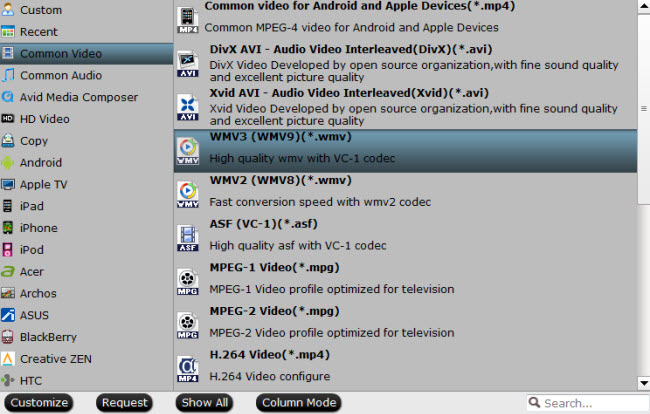
Step 2: Define the output format.
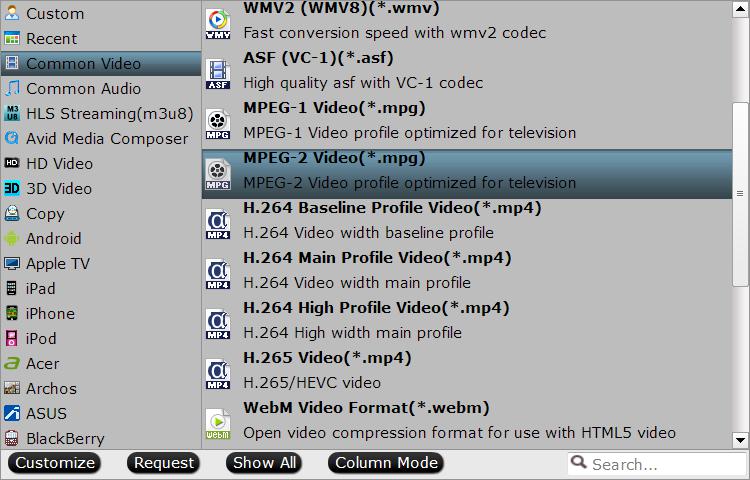
Clicking the Format bar, from its drop-down list, select one of your desired WMV file format to output.
Tips: If you care much about output file quality, it would be much ideal for you to choose the "WMV3(WMV9)(*.wmv)" under "Common Video" main category which will ensure you to produce a high quality WMV files with VC-1 codec.

Tips: Click "Settings" on the main interface to open "Profile Settings" window, here, you can flexibly choose or specify exactly the profile parameters including video codec, resolution, bit rate, frame rate, audio codec, bit rate, sample rate, channels, etc as you like to get better output video and audio quality.
Step 3: Begin the conversion process.
After all setting is completed, hit right-bottom "Convert" button to begin the conversion from iMovie video to WMV format conversion process.
When the conversion is completed, click "Open Output Folder" icon on the main interface to open the folder with generated files. Then feel free to play the generate WMV video on Windows platform with Windows Media Player, edit with Windows Movie Maker or for emailing.
Related Articles
Any Product-related questions?support@pavtube.com


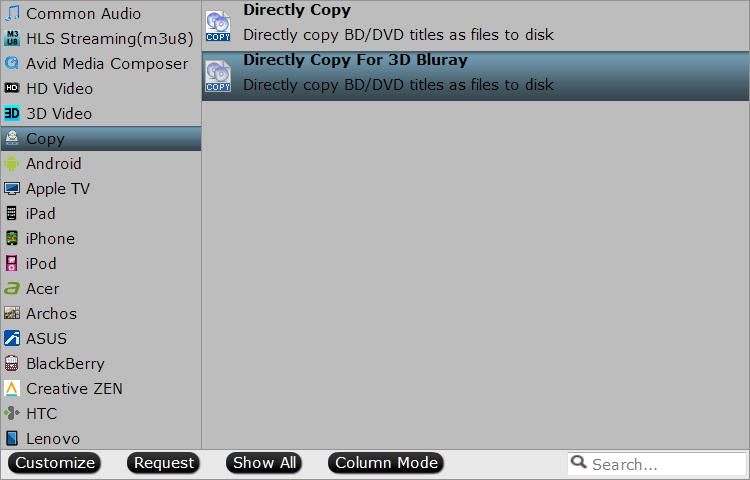
 on the top menu to start Blu-ray full disc copy.