Have no idea about the new Kindle Fire HDX Media File Transfer? Here, you will find three ways to download & transfer media files (music, photos and videos) to Kindle Fire HDX 7/8.9 for using. Plus, you will get some small tips when synchronizing videos/movies to your new Amazon Tablets.
Kindle Fire HDX. Generation 3 tablets are here. New Kindle Fires with Collections, Downloads of Prime Instant Video, Kindle Support Co-pilot access on your tablet 24/7. 34% lighter, much faster. Scroll lyrics to songs, identify and jump to songs when watching enabled tv shows or movies. Switch between multiple apps and books. Enterprise features + new accessibility capabilities. Control TV with the tablet and sync video and X-ray features + much more. In this article, we will provide the info about "How to get music, photos and videos onto the Kindle Fire HDX". You can take this informative posting about transferring media files onto the Kindle Fire HDX 7/8.9 for reference.
(Also see Amazon's help section to get more "Kindle Fire HDX Online Help".)
Method 1: USB Transfer- Transfer Content from a Computer to Your Kindle Fire HDX
To transfer Kindle content from your computer to your Kindle Fire HDX, use the micro-USB cable that was included with your device.

Note:
EPUB eBooks and Mobipocket files with Digital Rights Management (DRM) can't be transferred to your Kindle Fire.
Personal videos transferred to your Kindle Fire will appear in the Photos content library.
Apps from the Amazon Appstore for Android and movies and TV shows from Amazon Instant Video can't be downloaded from the Manage Your Kindle page to your computer.
From your computer, locate the content you want to transfer from your computer to your Kindle Fire.
Tip: You can use Manage Your Kindle to deliver Kindle books, magazines, and newspapers to your computer. Visit Manage Your Kindle and locate your Kindle content. From the Actions drop-down, select Download&Transfer via USB. From the drop-down, select your Kindle Fire, and then clickDownload to download the content to a folder on your computer.
Connect your Kindle Fire to your computer with the micro-USB cable. If you've set a lock screen password on your Kindle Fire, you may need to unlock your device before it can be opened on your computer.
Windows: Your Kindle Fire HDX will appear in the Computer or My Computer folder.

Mac: Your Kindle Fire will appear on the desktop.

Important: If you own a Mac computer with OSX 10.5 or above or a Windows XP computer, your Kindle Fire HDX will not be detected by your computer until you download new software for your computer.
To download the software, go to http://www.kindle.com/support/downloads, and then select your country from the list.
Open the Kindle Fire folder (titled Kindle) on your computer, and then open the Internal storage folder.
Locate the downloaded file on your computer, and then drag and drop the compatible file you want to transfer into the applicable folder:
From your Kindle Fire, tap a content library (for example, Books) in the top navigation, and then tap On Device to view your Kindle content.
Method 2: Wireless cloud service - Downloading Content from the Cloud
After you purchase Kindle content, it is saved to the Cloud. When you connect to a wireless network, you can download items from the Cloud to your Kindle Fire.
From Home, tap a Kindle content library (for example, Books) in the top navigation bar.
Tap the item to download it to your device. Items that have been downloaded to your Kindle Fire display a check mark in the lower right corner of the cover image. Items that are stored in theCloud do not display a check mark.

Tap the item to open it.
Having trouble?
Remove Content from Your Kindle Fire HDX
If you need additional device storage space, or you have content that you no longer use, you can remove items from your Kindle Fire.
Swipe down from the top of the screen to open Quick Settings, and then tap Settings.
Tap Device, and then tap Storage.
Tap any of the content categories to see the file names and sizes..
Tap the checkbox of any items you want to remove, and then tap Remove.
Tip: To permanently remove apps or games from the Cloud, go to the Apps or Games library on your device, tapCloud, and then press and hold the item you want to remove. Tap Delete from Cloud.
If you'd like to permanently remove a book, magazine, or newspaper from the Cloud, you can do so from Manage Your Kindle .
Method 3: Wireless network - Sync On Your Kindle Fire HDX
After you connect to a wireless network, you can sync your Kindle Fire HDX to receive content from the Amazon Cloud, synchronize book, audiobook, game, and video progress across devices, and download any app updates.
Swipe down from the top of the screen to open Quick Settings, and then tap Settings.
Tap Sync All Content.
Related Help Topics
Tips for synchronizing unsupported videos/movies to Kindle Fire HDX
1. How to put copy-protected contents onto the Kindle Fire HDX Tablet? In fact, Movies purchased or downloaded from online (e.g. iTunes, BBC iPlayer, Amazon) are restricted to specific computers and devices only. Unfortunately the Android devices have not get a license to play DRM contents which means Kindle Fire HDX is not granted to play DRM-protected videos. To have the device play these DRM videos (iTunes movies, TV shows, Amzon Instant videos and Digital Copies), get yourself a DRM removal tool first.
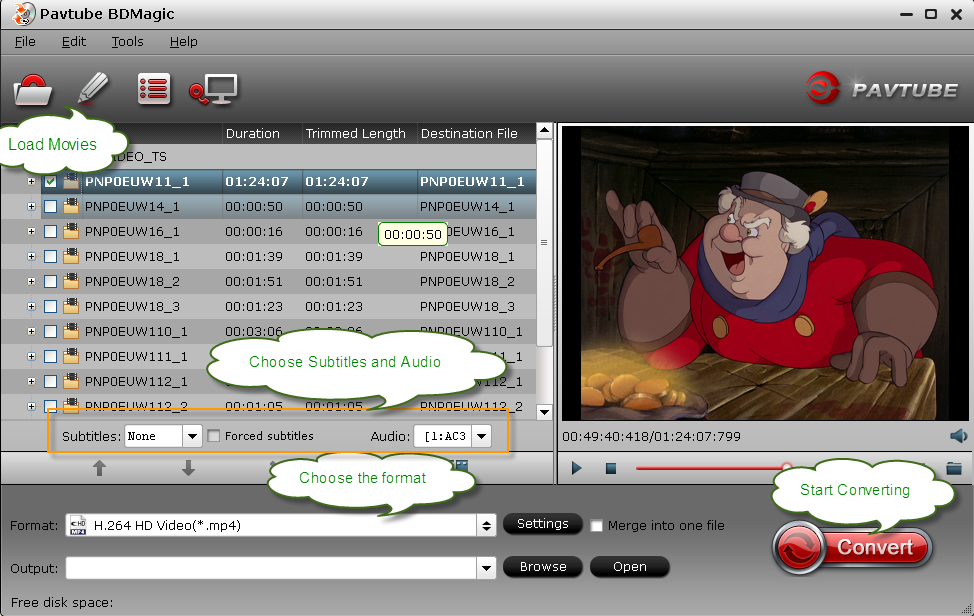
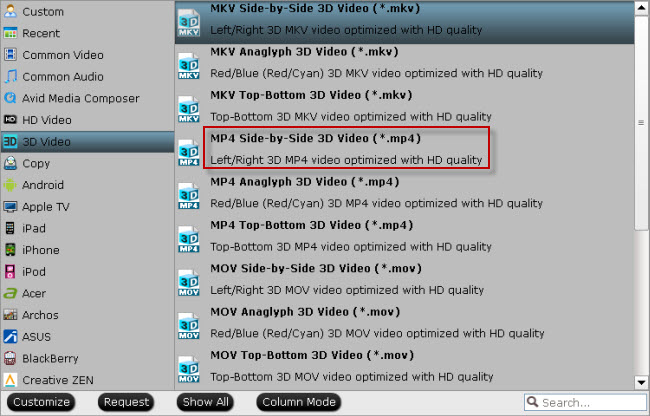
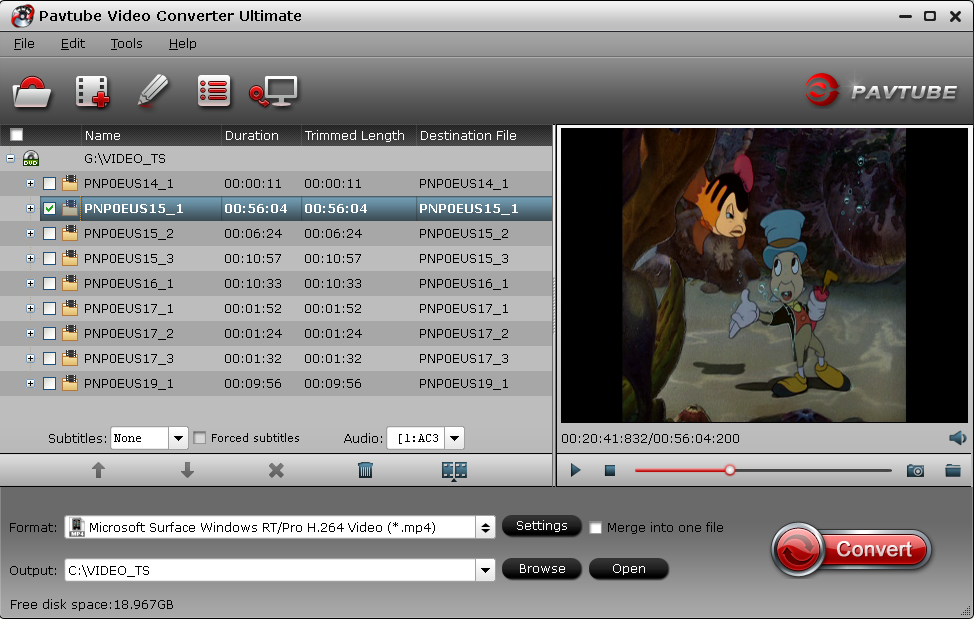
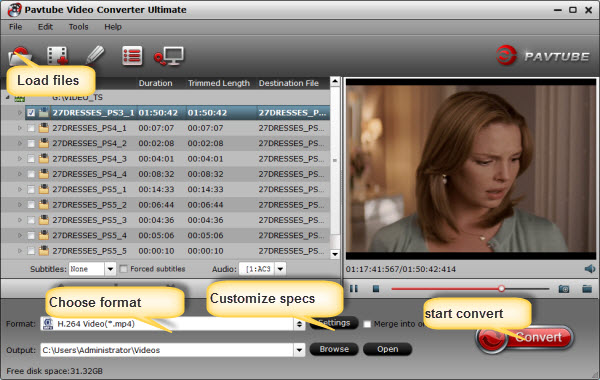
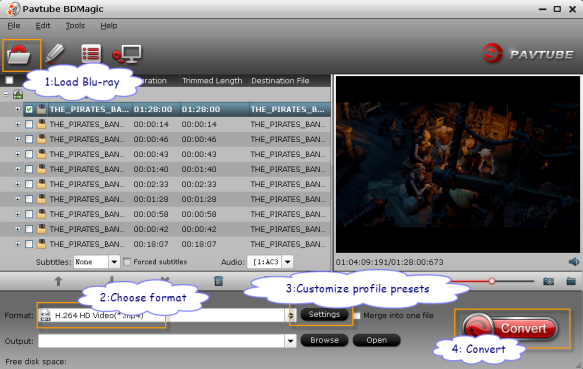
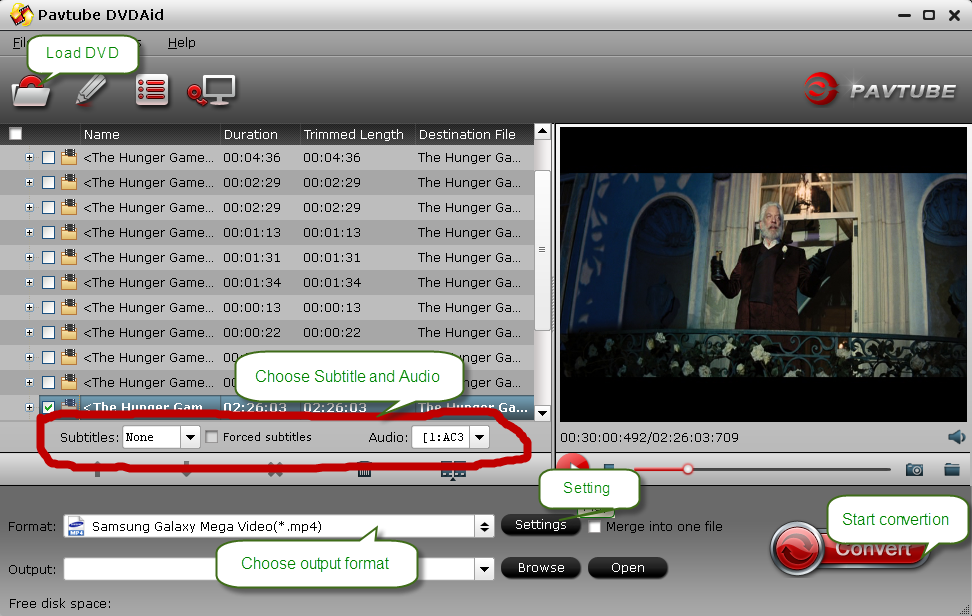
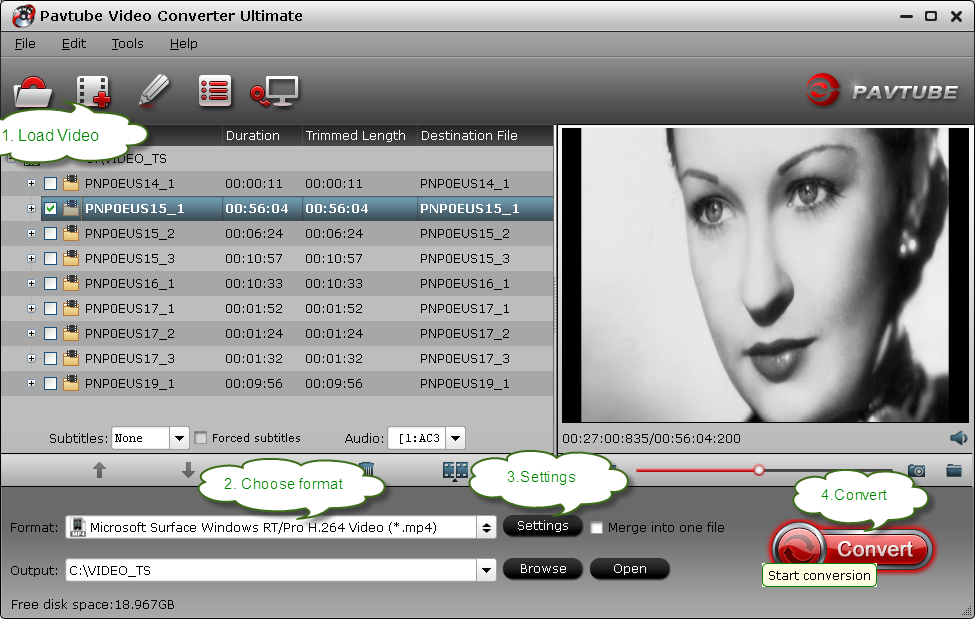
2. If you want to copy videos to Kindle Fire HDX in other formats like MKV, WMV, AVI, FLV, MTS, M2TS, MOV, MPEG, MPG, MOD, TiVo, VOB, etc, you will need reformat these video files first. You can try this professional Kindle Fire HDX Video Converter to batch convert videos in various formats up to 1080p to the Fire HDX playable format (e.g. MP4).
Kindle Fire HDX. Generation 3 tablets are here. New Kindle Fires with Collections, Downloads of Prime Instant Video, Kindle Support Co-pilot access on your tablet 24/7. 34% lighter, much faster. Scroll lyrics to songs, identify and jump to songs when watching enabled tv shows or movies. Switch between multiple apps and books. Enterprise features + new accessibility capabilities. Control TV with the tablet and sync video and X-ray features + much more. In this article, we will provide the info about "How to get music, photos and videos onto the Kindle Fire HDX". You can take this informative posting about transferring media files onto the Kindle Fire HDX 7/8.9 for reference.
(Also see Amazon's help section to get more "Kindle Fire HDX Online Help".)
Method 1: USB Transfer- Transfer Content from a Computer to Your Kindle Fire HDX
To transfer Kindle content from your computer to your Kindle Fire HDX, use the micro-USB cable that was included with your device.

Note:
EPUB eBooks and Mobipocket files with Digital Rights Management (DRM) can't be transferred to your Kindle Fire.
Personal videos transferred to your Kindle Fire will appear in the Photos content library.
Apps from the Amazon Appstore for Android and movies and TV shows from Amazon Instant Video can't be downloaded from the Manage Your Kindle page to your computer.
From your computer, locate the content you want to transfer from your computer to your Kindle Fire.
Tip: You can use Manage Your Kindle to deliver Kindle books, magazines, and newspapers to your computer. Visit Manage Your Kindle and locate your Kindle content. From the Actions drop-down, select Download&Transfer via USB. From the drop-down, select your Kindle Fire, and then clickDownload to download the content to a folder on your computer.
Connect your Kindle Fire to your computer with the micro-USB cable. If you've set a lock screen password on your Kindle Fire, you may need to unlock your device before it can be opened on your computer.
Windows: Your Kindle Fire HDX will appear in the Computer or My Computer folder.

Mac: Your Kindle Fire will appear on the desktop.

Important: If you own a Mac computer with OSX 10.5 or above or a Windows XP computer, your Kindle Fire HDX will not be detected by your computer until you download new software for your computer.
To download the software, go to http://www.kindle.com/support/downloads, and then select your country from the list.
Open the Kindle Fire folder (titled Kindle) on your computer, and then open the Internal storage folder.
Locate the downloaded file on your computer, and then drag and drop the compatible file you want to transfer into the applicable folder:
- Audiobooks: AA, AAXBooks: AZW (.azw3), MOBI (non-DRM), KF8
- Documents: TXT, PDF, PRC, DOC, DOCX
- Music: MP3, non-DRM AAC (.m4a), MIDI, PCM/WAVE, OGG, WAV
- Pictures: JPEG, GIF, PNG, BMP
- Movies: MP4, 3GP, VP8 (.webm)
- Disconnect your Kindle Fire from your computer.
From your Kindle Fire, tap a content library (for example, Books) in the top navigation, and then tap On Device to view your Kindle content.
Method 2: Wireless cloud service - Downloading Content from the Cloud
After you purchase Kindle content, it is saved to the Cloud. When you connect to a wireless network, you can download items from the Cloud to your Kindle Fire.
From Home, tap a Kindle content library (for example, Books) in the top navigation bar.
Tap the item to download it to your device. Items that have been downloaded to your Kindle Fire display a check mark in the lower right corner of the cover image. Items that are stored in theCloud do not display a check mark.

Tap the item to open it.
Having trouble?
Remove Content from Your Kindle Fire HDX
If you need additional device storage space, or you have content that you no longer use, you can remove items from your Kindle Fire.
Swipe down from the top of the screen to open Quick Settings, and then tap Settings.
Tap Device, and then tap Storage.
Tap any of the content categories to see the file names and sizes..
Tap the checkbox of any items you want to remove, and then tap Remove.
Tip: To permanently remove apps or games from the Cloud, go to the Apps or Games library on your device, tapCloud, and then press and hold the item you want to remove. Tap Delete from Cloud.
If you'd like to permanently remove a book, magazine, or newspaper from the Cloud, you can do so from Manage Your Kindle .
Method 3: Wireless network - Sync On Your Kindle Fire HDX
After you connect to a wireless network, you can sync your Kindle Fire HDX to receive content from the Amazon Cloud, synchronize book, audiobook, game, and video progress across devices, and download any app updates.
Swipe down from the top of the screen to open Quick Settings, and then tap Settings.
Tap Sync All Content.
Related Help Topics
- Sync Across Kindle Devices & Apps
- Download Best Free Video Player Apps for Kindle Fire HDX + Video Playback Tip
Tips for synchronizing unsupported videos/movies to Kindle Fire HDX
1. How to put copy-protected contents onto the Kindle Fire HDX Tablet? In fact, Movies purchased or downloaded from online (e.g. iTunes, BBC iPlayer, Amazon) are restricted to specific computers and devices only. Unfortunately the Android devices have not get a license to play DRM contents which means Kindle Fire HDX is not granted to play DRM-protected videos. To have the device play these DRM videos (iTunes movies, TV shows, Amzon Instant videos and Digital Copies), get yourself a DRM removal tool first.
2. If you want to copy videos to Kindle Fire HDX in other formats like MKV, WMV, AVI, FLV, MTS, M2TS, MOV, MPEG, MPG, MOD, TiVo, VOB, etc, you will need reformat these video files first. You can try this professional Kindle Fire HDX Video Converter to batch convert videos in various formats up to 1080p to the Fire HDX playable format (e.g. MP4).
